
Dry Brine Turkey: How to Get Thanksgiving Right
How to Dry Brine a Turkey | Holiday Tips and Recipe Ideas | Whole Foods Market
A quick step-by-step demo of dry brining a Thanksgiving turkey with salt and seasonings for juicier meat and crisp, golden-brown skin.
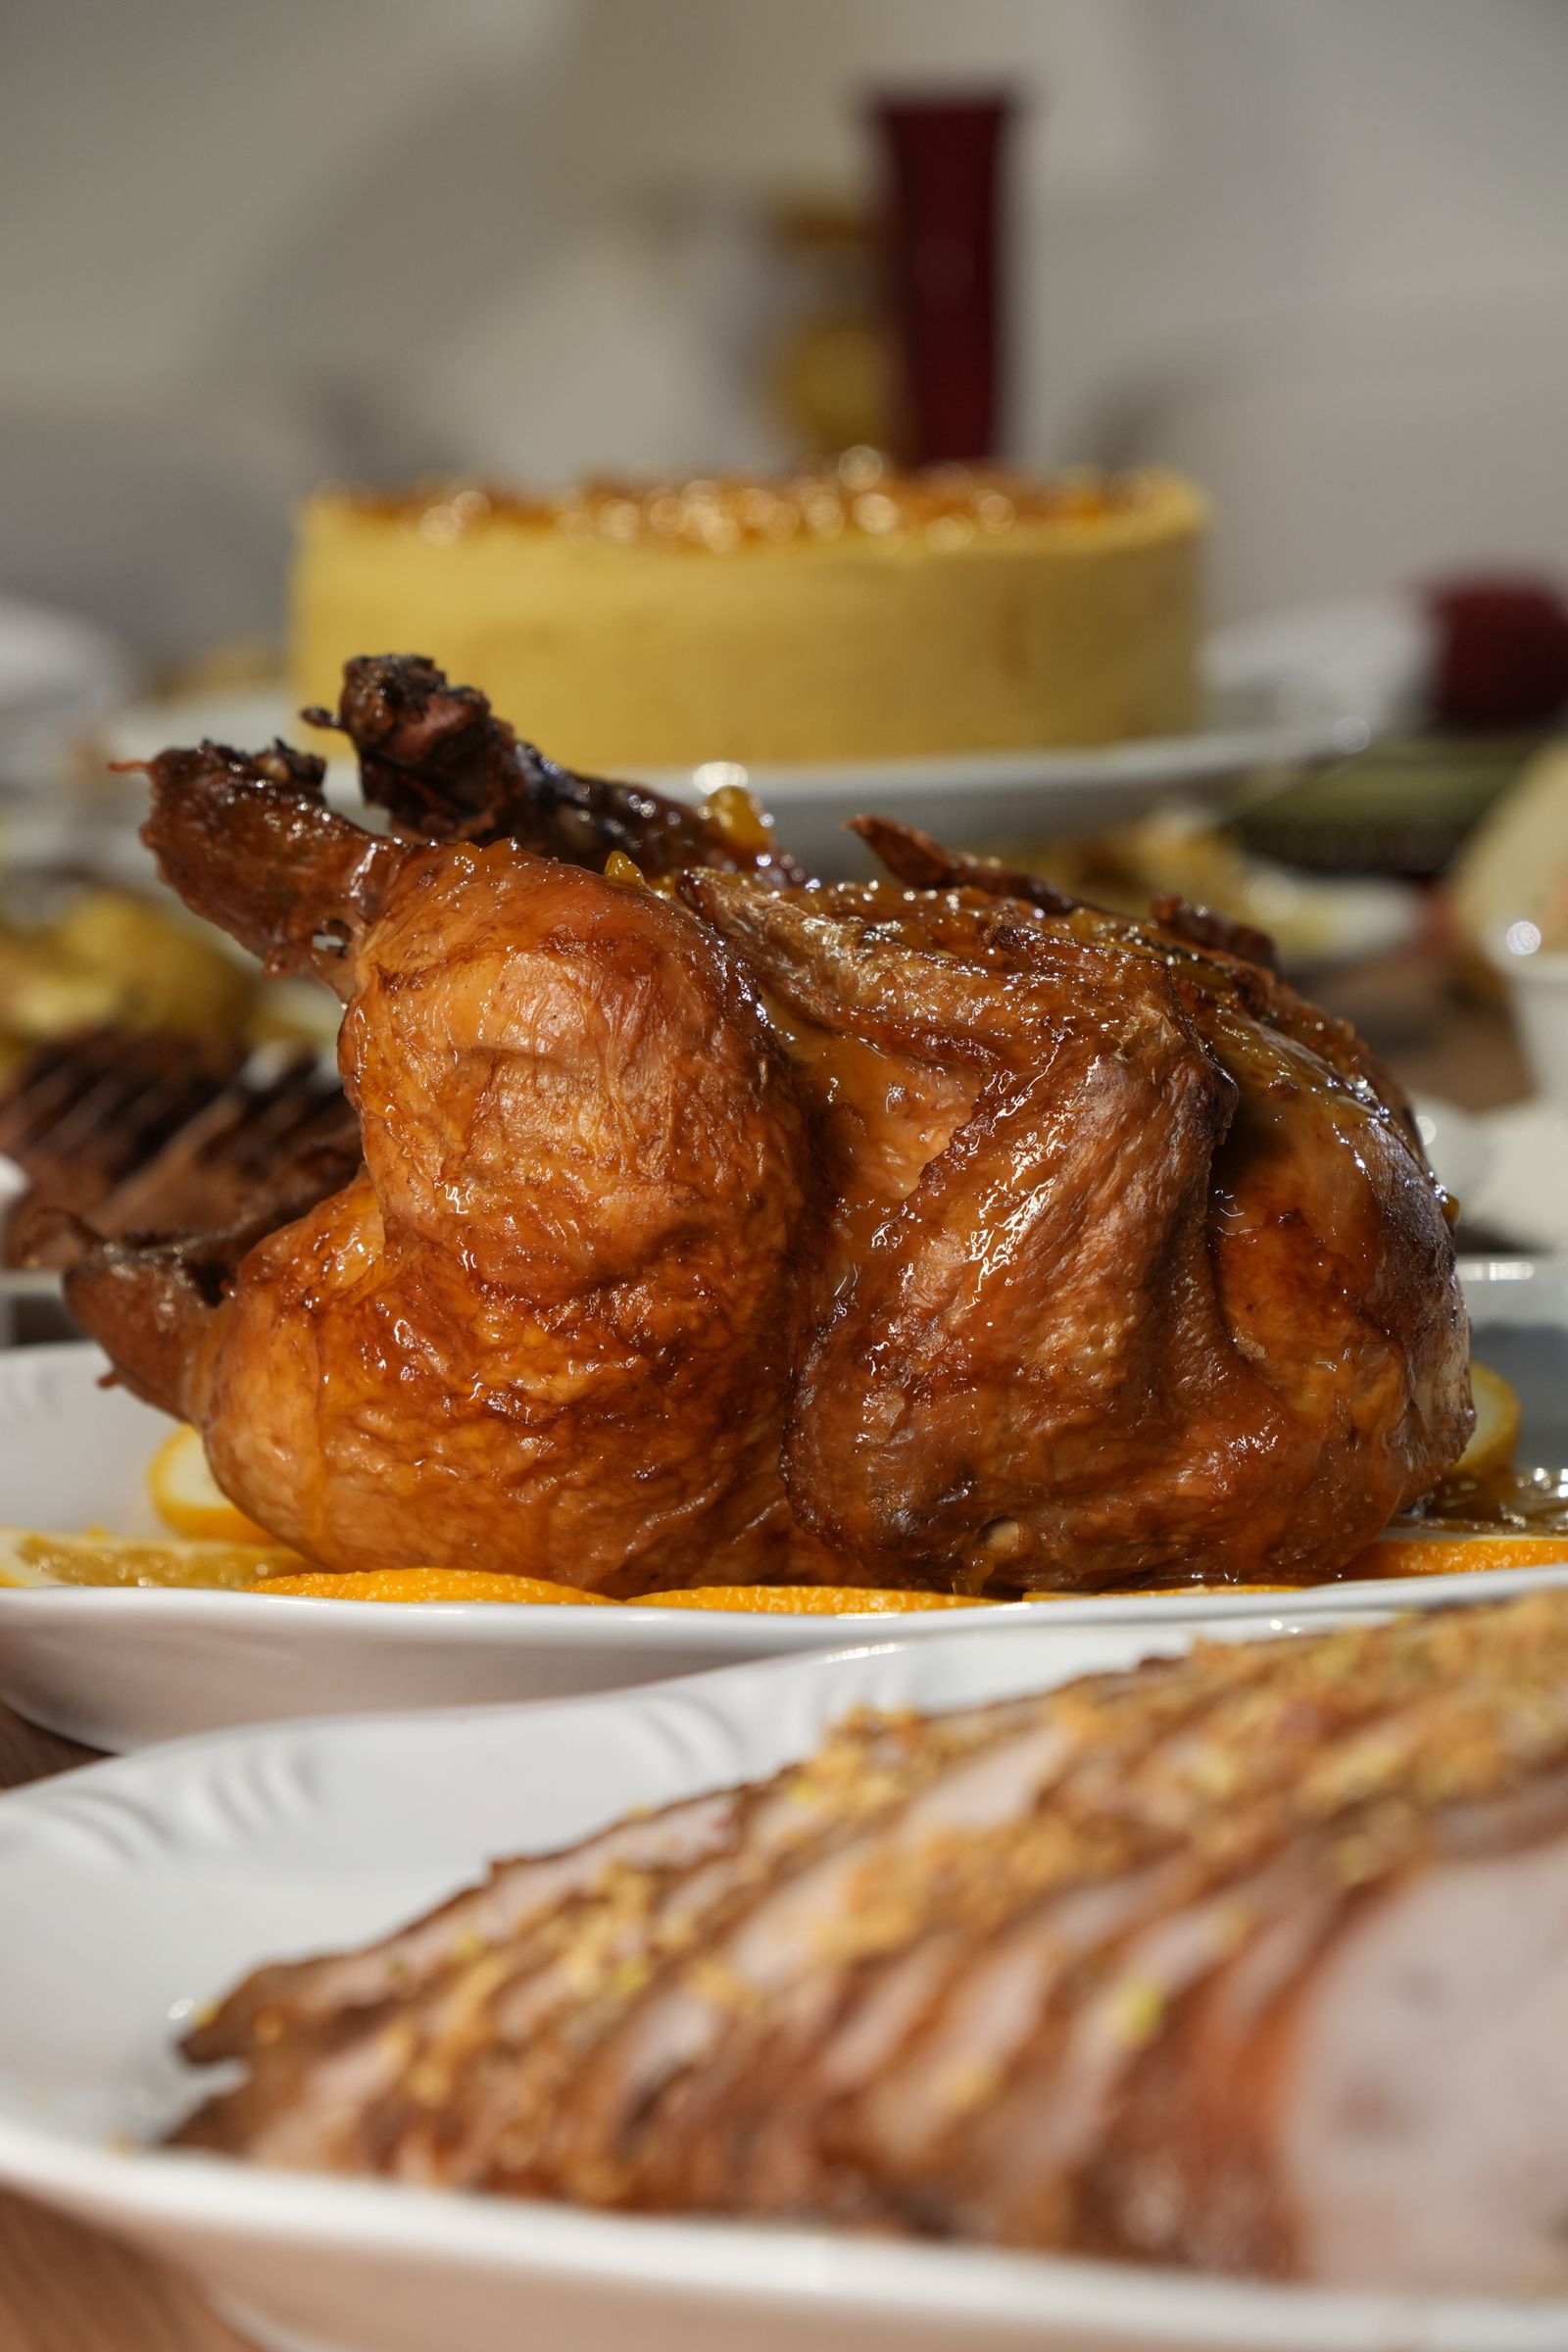
The turkey looks spectacular. The skin is golden, the platter is ready, and everyone leans in as you make the first slice. Then comes the moment that matters: is the breast meat actually juicy, or will the gravy have to do all the work?
A dry brine turkey gives you a better shot at the Thanksgiving bird you pictured: well-seasoned meat, beautifully browned skin, and less last-minute fuss. There is no bucket of salty water to wrestle into the refrigerator. You need salt, a roasting setup, and enough time for a little kitchen chemistry.
But the details matter. Start with an already salted turkey, measure the wrong salt by volume, or expect brining to rescue overcooking, and the result can disappoint. This guide walks you through the method, from reading the package to carving the rested bird, with a practical salt formula and a Thanksgiving timeline you can actually follow.
1. Why Dry Brining Works—and What It Cannot Fix
Picture two versions of Thanksgiving morning. In one, you are hauling a slippery turkey out of a container of brine while wondering where to pour the liquid. In the other, you lift a seasoned turkey from the refrigerator, prepare the roasting pan, and get on with the potatoes.
That second scene is the appeal of dry brining. Instead of submerging poultry in a saltwater solution, you apply a measured amount of salt directly to the bird and refrigerate it before cooking.
What happens beneath the surface?
Salt initially draws moisture out of the turkey's surface. It dissolves in that moisture, creating a concentrated brine right where you need it. Over time, salt moves into the meat. It also changes muscle proteins in ways that help the meat retain more moisture during cooking.
The refrigerator does another useful job: when the turkey sits uncovered, its skin dries. Less surface moisture means the oven spends less energy evaporating water before browning can begin. That gives you a better starting point for crisp skin.
The useful distinction: salt improves seasoning and moisture retention; uncovered refrigeration improves surface dryness. They work together, but they are not the same process.
Dry brine vs. wet brine: the practical trade-off
- Dry brining: requires less equipment, avoids a large container of raw poultry liquid, and encourages a dry surface for browning.
- Wet brining: can produce moist meat, but requires a food-safe container and enough refrigerator space to keep the entire bird and liquid cold.
- Both methods: require careful salt management and safe refrigeration. Neither makes overcooking harmless.
The drawbacks of dry brining are mostly logistical. You need advance planning, refrigerator space for a tray, and a turkey that has not already received a heavy salt treatment. The drippings can also be salty, so gravy needs a thoughtful hand.
And here is the expectation worth setting early: dry brining gives you a margin of forgiveness, not permission to ignore temperature. A well-brined breast can still become dry if it stays in the oven too long.
2. Choose the Right Turkey Before You Reach for Salt
The most important instruction on Thanksgiving may not be in your recipe. It may be printed in small lettering on the turkey wrapper.
Look for a turkey without an added salt solution. Fresh or frozen can both work well; what matters is how the bird was processed and whether it has already been seasoned.
Read past the marketing on the front
Check the ingredient list and any statement about added solution. These labels deserve attention:
- Self-basting or basted: often indicates that the turkey has been treated with a solution containing salt and other ingredients.
- Enhanced or injected: may mean broth, water, salt, or flavorings have been added.
- Contains up to a stated percentage of solution: read what is in that solution before deciding to brine.
- Kosher: kosher processing includes salting, so a standard dry-brine dose may make the bird too salty.
- Pre-brined: skip the full dry brine and follow the producer's cooking guidance.
A label such as natural does not, by itself, tell you whether the turkey contains added salt. The ingredient list is more useful than the headline.
If your only option is an already salted turkey, do not try to calculate a full dry brine from guesswork. Season with salt-free herbs, dry the skin in the refrigerator within the safe storage window, and focus on careful roasting.
Make refrigerator space part of the plan
You will need a rimmed tray or roasting pan large enough to contain every drip, preferably with a rack to lift the turkey above pooled liquid. Place it on a low shelf, separated from ready-to-eat foods. Nothing should touch the raw bird, and nothing should be able to drip onto it.
Keep the refrigerator at 40°F / 4°C or below, ideally verified with a refrigerator thermometer. An uncovered turkey is useful for skin drying only when it can be stored without contaminating other food.
A 12- to 14-pound turkey is often easier to handle and cook evenly than a very large bird. For a bigger gathering, two smaller birds may be practical if your refrigerator and oven have enough room. Solve that space puzzle before shopping, not after unwrapping.
3. How Much Salt to Use for a Dry Brine Turkey
Here is where many recipes become confusing: “a few tablespoons of kosher salt” can mean very different amounts of actual salt.
Different brands have different crystal shapes and densities. A spoonful of fine table salt generally weighs much more than a spoonful of light, flaky kosher salt. The same tablespoon measurement can therefore produce noticeably different seasoning.
Use a kitchen scale if you have one. For an unenhanced, whole, bone-in turkey, a practical starting point is 6 grams of salt per kilogram of turkey, or about 2.7 grams per pound. This is 0.6% of the bird's weight, not a universal rule for every poultry recipe.
A simple salt guide by turkey weight
- 10-pound turkey: about 27 grams of salt.
- 12-pound turkey: about 33 grams of salt.
- 14-pound turkey: about 38 grams of salt.
- 16-pound turkey: about 44 grams of salt.
Use the turkey's weight without the packaging, giblet packet, and neck if you can conveniently weigh it. The labeled weight is a workable approximation for home cooking. Do not use this whole-bird formula unchanged for boneless turkey breast or small individual pieces.
For a 12-pound bird, 33 grams is roughly 4 tablespoons of Diamond Crystal kosher salt, but closer to 2 tablespoons plus 1 teaspoon of Morton kosher salt. These are approximate conversions, not interchangeable scoop measurements. Crystal size and measuring technique can vary, which is why weighing wins.
A dependable dry-brine seasoning mix
For a 12-pound, unenhanced turkey, combine:
- 33 grams of salt.
- 2 teaspoons freshly ground black pepper.
- 2 teaspoons finely chopped thyme or 1 teaspoon dried thyme.
- 1 teaspoon finely chopped rosemary, or a smaller amount of dried rosemary.
- Finely grated zest of 1 lemon, optional.
Keep the herbs restrained. You want roast turkey with aromatic accents, not a rosemary bush wearing a drumstick. Large pieces of herbs left on the skin can scorch, so chop them finely or place most of them beneath the skin.
Sugar is optional and unnecessary for the method to work. It can accelerate browning, which may be inconvenient during a long roast. Likewise, you do not need baking powder for a successful dry-brined turkey; salt, air circulation, and controlled roasting are a straightforward starting point.
Count all added salt. If you use a salty spice blend, salted butter, or a prepared rub later, you are adding to the total. The simplest approach is to reserve salt for the brine and use unsalted ingredients afterward.
4. Apply the Dry Brine Without the Mess
Once the turkey is thawed, the hands-on work is short. Set up your pan, rack, paper towels, and measured seasoning before opening the wrapper. That small bit of organization keeps raw poultry juices away from spice jars and refrigerator handles.
Step 1: Unwrap, empty, and pat dry
Remove the packaging, giblets, and neck, checking both the main cavity and the neck area. Pat the turkey dry with paper towels, then discard the towels immediately.
Do not rinse raw turkey. Washing can splash bacteria onto nearby surfaces and does not make the meat safer. Proper cooking is what makes it safe to eat.
Step 2: Gently loosen the breast skin
Using clean fingers, carefully separate the skin from the breast meat without tearing it. Loosen accessible skin near the thighs if it comes away easily, but do not force your hand into tight spaces.
Applying some of the measured salt directly to the meat helps season it more directly than putting everything on the outside. Leave the skin attached; it still serves as protection during roasting.
Step 3: Distribute the measured mixture
Spread roughly half the seasoning beneath the loosened skin, giving the thick breast meat a generous share. Distribute most of the remainder over the exterior, including the legs and thighs, with just a light dusting inside the cavity.
These proportions do not need laboratory precision. The goal is even coverage without piles of salt. Avoid dumping a large portion into the cavity: it will not efficiently season the thick breast from there.
Step 4: Refrigerate on a rack
Set the turkey breast-side up on a rack inside the rimmed tray. Refrigerate uncovered when you have a clean, protected space for it. If you need to cover it initially, uncover it for the final 12 to 24 hours, provided it can remain safely separated from other food.
You may notice moisture on the surface early on. Later, the skin should look drier and slightly taut. That progression is normal; you do not need to keep blotting the bird or adding more salt.
Step 5: Leave the brine where it belongs
Do not rinse the turkey before roasting. A properly measured dry brine is intended to stay on the bird. Rinsing re-wets the skin and creates another opportunity for raw poultry juices to spread.
If there are wet patches before cooking, blot them gently. If you accidentally applied far too much salt, brushing off visible excess may help, but it will not remove salt that has already entered the meat. Careful measuring is much easier than correcting an oversalted turkey.
5. Build a Thanksgiving Timeline That Actually Works
For most home cooks, 24 to 48 hours of dry brining is a useful target. That gives salt time to work and the skin time to dry. Do not interpret longer brining times as an invitation to extend raw poultry storage indefinitely.
USDA guidance allows a refrigerator-thawed turkey to remain refrigerated for 1 to 2 days after thawing before cooking. Dry brining must fit inside that window; salt at these levels does not preserve the bird or restart its storage clock. For a fresh turkey, also follow its use-by date and storage instructions.
A manageable Thursday-serving schedule
- Several days ahead: begin refrigerator thawing if the turkey is frozen. Allow approximately 24 hours for every 4 to 5 pounds, and recognize that actual thawing time varies.
- Tuesday evening or Wednesday morning: once the turkey is thawed, remove the packets, pat dry, apply the measured brine, and refrigerate.
- Wednesday: confirm the refrigerator temperature, prepare unsalted stock if needed, and organize your roasting equipment.
- Thursday: roast, check temperature in multiple places, rest, carve, and serve.
For example, a 12-pound turkey commonly needs about three days to thaw in the refrigerator. Starting around Saturday evening or Sunday morning may put you on track for a Tuesday or Wednesday brine, but check the bird rather than treating the calendar as a guarantee.
What if you are running late?
An overnight brine is still worthwhile. With only 8 to 12 hours, you can improve surface seasoning and drying, although salt will have less time to move inward. Do not compensate for a shorter brine by adding extra salt.
If the turkey is still frozen, prioritize safe thawing over a perfect brining schedule. For cold-water thawing, keep it in leakproof packaging, submerge it in cold water, change the water every 30 minutes, and allow about 30 minutes per pound. Cook immediately after cold-water thawing rather than adding a day or two of refrigerated brining.
Never thaw a turkey on the counter. And there is no need to leave a dry-brined bird out for hours to “come to room temperature.” A whole turkey warms unevenly; you can prepare it briefly while the oven preheats, then roast it straight from the refrigerator.
6. Roast for Juicy Meat, Not Just a Beautiful Clock Time
The dry brine has done its quiet work. Now the oven and thermometer take over. This is where it helps to remember that a turkey is not one uniform piece of meat: the lean breast and harder-working legs cook differently.
Keep the roasting setup simple
Preheat the oven to 325°F / 163°C. Place the turkey breast-side up on a rack in a roasting pan. If you used a different tray for brining, transfer the bird and discard accumulated raw juices carefully.
Blot any remaining damp spots, then lightly coat the skin with neutral oil or unsalted butter. Oil is a straightforward option for browning; butter adds flavor but its milk solids may darken sooner. Unsalted butter under the skin is another option, not a requirement.
You can place a few loose pieces of onion, lemon, or herbs inside the cavity, but do not pack it tightly. For simpler, more predictable cooking, bake stuffing separately. Stuffing cooked inside poultry must also reach 165°F, which can extend the roast while the breast keeps cooking.
Tuck the wing tips under the bird. Tie the legs loosely if desired rather than cinching them tightly against the body. Avoid frequent basting: it repeatedly wets the skin and requires opening the oven, while doing little to improve moisture deep inside the breast.
Use time for planning and temperature for decisions
As a broad planning range, an unstuffed 12- to 14-pound turkey at 325°F may take roughly 3 to 3¾ hours. Shape, oven accuracy, starting temperature, and pan design can all change that. Begin checking before the early end of the range.
For a straightforward home-food-safety target, verify at least 165°F / 74°C in the thickest part of the breast, the innermost thigh, and the innermost wing area. Keep the probe away from bone and check more than one spot, including both sides when practical.
The thighs often have a more tender texture around 175 to 180°F because their connective tissue benefits from additional heat. That is a texture preference, not a reason to keep roasting an already overcooked breast. If breast and leg temperatures diverge substantially, an experienced cook can separate finished portions and return underdone pieces to the oven.
If the skin gets dark before the meat is done, shield the browned areas loosely with foil. Color tells you about the surface; it cannot tell you whether the center is safely cooked.
Rest before carving
Let the turkey rest for about 30 to 45 minutes before carving. That gives you time to finish gravy and side dishes and helps reduce the rush of juices when the meat is sliced.
A tight foil wrapping traps steam and softens crisp skin, so leave the bird uncovered or tent it loosely. Resting fits within your food-safety clock: refrigerate perishable food within two hours of leaving the oven or hot holding, or within one hour when the surrounding temperature is above 90°F / 32°C.
7. Fix Common Problems and Finish With Confidence
Even a well-planned Thanksgiving throws up questions. The good news is that most dry-brine problems have a clear cause—and a useful lesson for the next bird.
Why is my turkey too salty?
The usual suspects are an enhanced turkey, a salt-brand substitution measured by volume, or extra salt from butter and seasoning blends. Next time, inspect the label and weigh the brine.
For the current meal, pair the turkey with lightly seasoned sides and an unsalted or low-sodium gravy. Avoid adding salty drippings to every dish. You cannot remove salt already inside cooked meat, but you can keep the rest of the plate balanced.
Why is the skin not crisp?
Look for excess surface moisture, frequent basting, crowding, or a tight foil covering during the rest. A deep pan can also limit airflow around the lower parts of the bird. Uncovered refrigeration helps, but it cannot guarantee that every fold of skin will crisp equally.
For next time, use a rack, keep the exterior dry, and leave space around the turkey. Remember that carving releases steam and meat juices, so serve the skin promptly rather than covering the carved platter tightly for a long wait.
Why is the breast still dry?
Brining improves moisture retention, but excessive cooking still drives moisture out. Check your thermometer's accuracy and where you inserted it. A probe touching bone or sitting in a shallow spot may not reflect the temperature of the meat you intend to measure.
For serving, carve the breast off the bone and slice it across the grain. A little warm, lightly seasoned stock or gravy can make dry slices more pleasant, even though it cannot reverse overcooking.
How do I make gravy from dry-brined turkey?
Start with an unsalted stock base and taste the drippings before adding them. Incorporate them gradually rather than assuming the whole pan belongs in the saucepan. Their salt concentration varies with the brine, evaporation, and anything else added during roasting.
If the gravy becomes too salty, expand the batch with unsalted stock and additional unsalted thickener as needed. A potato is not a reliable salt-removal tool. Dilution is the dependable fix.
What about leftovers?
Remove leftover meat from the carcass and refrigerate it promptly in shallow containers; do not wait for a whole turkey to cool completely on the counter. Use refrigerated cooked turkey within 3 to 4 days, or freeze it for longer storage. Reheat leftovers to 165°F / 74°C.
Tomorrow's sandwich is another reason to get the seasoning right today. Well-seasoned turkey needs little more than bread, cranberry sauce, and something crunchy to become a meal worth looking forward to.
The Thanksgiving habit worth keeping
A great dry-brined turkey is not about adding more steps. It is about moving a few important decisions earlier: choose an unenhanced bird, measure the salt, allow safe refrigerator time, and let a thermometer—not the clock—decide when dinner is ready.
Write those four reminders on your shopping list now. When Thanksgiving arrives, you will not be trying to manufacture flavor at the last minute. You will be finishing work that started quietly the day before.
The best payoff is bigger than crisp skin. It is standing at the carving board with confidence, cutting that first juicy slice, and having enough attention left to enjoy the people waiting around your table.