
French Apple Cake Recipe: How to Make It at Home
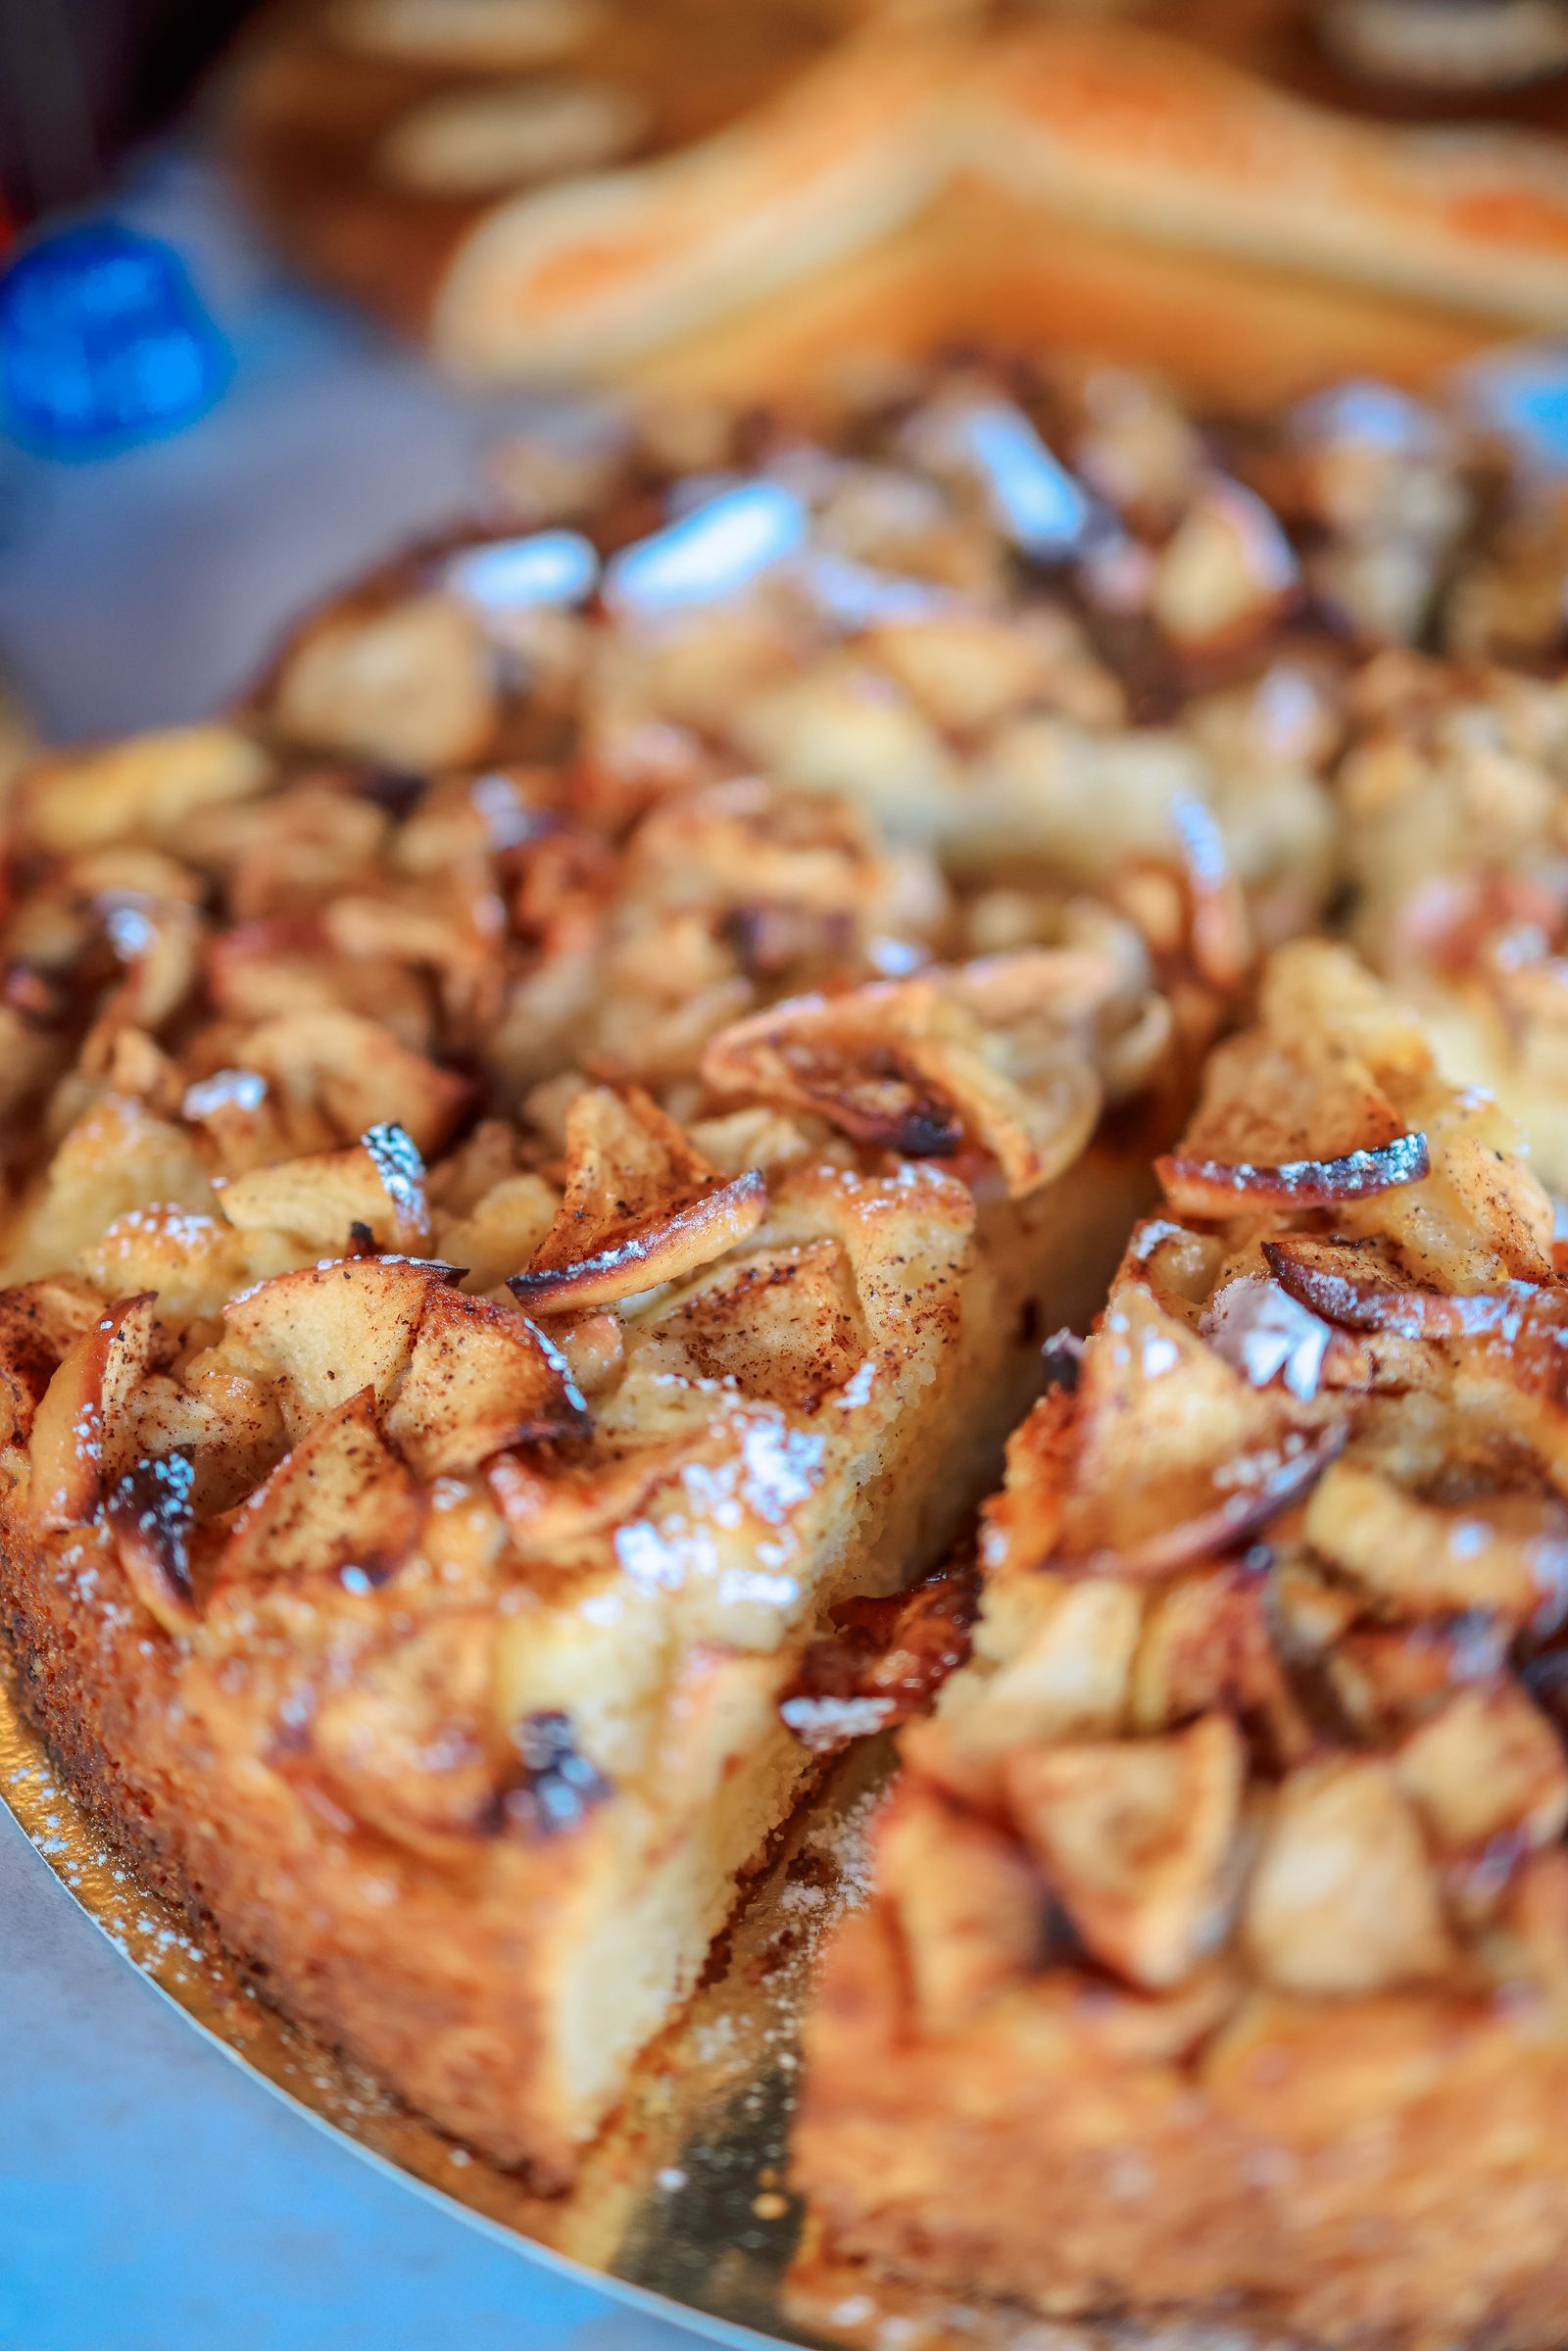
Easy French Apple Cake Recipe
A step-by-step demonstration of a simple French apple cake, showing how to slice the apples, mix the light batter and bake until golden. A helpful visual guide for first-time bakers.
The first thing you notice is the smell: warm butter, sweet apples, and vanilla drifting out of the oven. Then comes the golden top, thin enough to crack gently under a knife. Inside, there are so many tender apple pieces that you wonder how the cake holds together at all.
That is the appeal of French apple cake. It feels special without demanding a pastry-school education, a stand mixer, or an afternoon spent decorating. A bowl, a whisk, and a few good apples get you most of the way there.
If an apple-packed cake on your social feed has sent you looking for a recipe, there is one useful distinction to make: not every viral French apple cake is the same. Some are made with paper-thin apple layers; others have a soft, buttery crumb wrapped around generous chunks. This recipe makes the second kind: a rustic, home-style cake with plenty of fruit and a lightly crisp sugar topping.
Picture a cool afternoon, a few apples rolling around the fruit bowl, and someone asking whether there is anything sweet. In a little over an hour, this can be your answer. Here is how to get the texture right, choose apples that actually taste good after baking, and avoid the wet center that can spoil an otherwise beautiful cake.
1. What Makes French Apple Cake Different?
Instead of treating apples as a garnish, this cake gives them the leading role. The batter is relatively modest, just enough to surround the fruit and create a tender structure. Every slice should contain distinct apple pieces, not simply a hint of apple flavor.
French apple cake is not one rigidly defined recipe. Home-style versions vary in their proportions, pan sizes, and flavorings. Many include dark rum, while others rely on vanilla or a small amount of citrus zest. What they often share is restraint: the apples and butter remain easy to taste.
A buttery cake, not a spice cake
Unlike many American-style fall apple cakes, this version does not depend on a heavy dose of cinnamon, a streusel layer, or a thick glaze. Those additions can be delicious, but they produce a different experience. Here, the pleasure is in the contrast between browned edges, soft fruit, and a delicate crumb.
Think of it as the cake equivalent of a well-made apple tart, with far less assembly. It is casual enough for an afternoon coffee and elegant enough to finish a dinner with friends.
Is this the same as invisible apple cake?
No. Gâteau invisible aux pommes, often called invisible apple cake, uses very thin apple slices and a small amount of batter to create closely stacked layers. The fruit nearly hides the batter, which explains the name.
This French apple cake recipe uses diced apples and a more recognizable cake crumb. You do not need a mandoline, and the goal is not perfectly aligned layers. If the cake you saw online looked like dozens of delicate apple sheets, you were probably looking at the invisible style.
Neither is inherently better. For a straightforward fall dessert that is easy to mix by hand, the diced-apple version is a particularly friendly starting point.
2. Choose Apples That Bring Flavor, Not Extra Water
Before you reach for the mixing bowl, look at your apples. They contribute more than sweetness: their firmness, acidity, and moisture all influence the finished cake.
The best apples for French apple cake hold their shape reasonably well while becoming tender in the oven. You want pieces that a fork can glide through, not hard cubes suspended in cake or pockets of watery applesauce.
Reliable apples for this recipe
- Golden Delicious: A good choice for a softer bite and mellow sweetness. Choose firm fruit, not apples that already feel mealy.
- Braeburn: Balanced sweetness and acidity, with enough structure to remain distinct after baking.
- Honeycrisp: Juicy and flavorful. Blot away visible surface juice after cutting, and use the measured fruit weight.
- Pink Lady: Pleasantly tart and generally firm, making it useful alongside a sweeter variety.
- Granny Smith: A tart option that brings contrast. Pair it with a sweeter apple if you prefer a less sharp finish.
A practical combination is half Golden Delicious and half Braeburn or Pink Lady. Mixing varieties adds interest without adding another ingredient to your shopping list.
Avoid apples that are bruised throughout, mealy, or beginning to break down. Baking can soften a firm apple, but it cannot restore flavor to a tired one.
Weigh the apples after peeling and coring
For this recipe, use 450 g peeled, cored apples, cut into roughly 1/2-inch, or 1.25 cm, pieces. That is approximately 3 medium to large apples, but size varies enough that weight is the more reliable guide.
This detail matters. Adding a fourth oversized apple because you want to use it up can push the cake beyond what the batter can support. More fruit is not always an upgrade; sometimes it is simply more moisture.
Peeling gives the most tender result. The skins can become noticeable strips in an otherwise soft slice. Dice the apples just before mixing, and blot them if juice collects on the cutting board. A little browning while you prepare the batter is harmless, so there is no need to soak them in lemon juice.
3. French Apple Cake Recipe: Ingredients and Equipment
This recipe makes a relatively low, fruit-rich cake in a 9-inch pan. Expect a moist crumb with tender apple pieces, not a tall, airy sponge.
- Yield: 8 servings
- Preparation time: About 20 minutes
- Baking time: About 40–50 minutes
- Cooling time: At least 30 minutes before serving; longer for cleaner slices
- Oven temperature: 350°F / 175°C conventional, or approximately 320°F / 160°C fan
- Pan: One 9-inch / 23 cm round cake pan, at least 2 inches deep, or a tight-fitting springform pan
Ingredients
- 1 cup all-purpose flour, spooned and leveled (125 g)
- 1 teaspoon baking powder
- 1/4 teaspoon fine salt
- 2 large eggs, at room temperature
- 3/4 cup granulated sugar (150 g)
- 1/2 cup unsalted butter, melted and cooled until lukewarm (115 g)
- 2 tablespoons dark rum (30 ml), or the alcohol-free substitution below
- 1 teaspoon vanilla extract
- 450 g apples, weighed after peeling and coring, diced into 1/2-inch pieces
- 1 tablespoon granulated sugar for the top
- Extra butter for greasing the pan
- Optional: powdered sugar for serving
For an alcohol-free cake
Replace the rum with 2 tablespoons apple juice or water. Keep the vanilla as written. Apple juice adds a gentle fruit note; water keeps the flavor focused on the apples and butter.
Do not assume that baking removes all alcohol. If you need to avoid alcohol, use the substitution and choose an alcohol-free vanilla flavoring if necessary.
Equipment that makes the job easier
You will need two mixing bowls, a whisk, a flexible spatula, a knife, a cutting board, and the cake pan. A kitchen scale is especially helpful for measuring flour and prepared apples accurately.
Line the bottom of the pan with parchment and grease the sides well. If using a springform pan, check that it closes securely; some pans can leak butter or batter. Set it on a rimmed baking sheet to catch any drips.
Before buying a new pan, check its diameter and depth. A smaller pan makes the cake thicker and slower to bake. A dark metal pan may brown the edges more aggressively. Light-colored metal is a reliable choice, but a pan you know well is often better than an unfamiliar one bought just for this recipe.
4. How to Make French Apple Cake, Step by Step
Have the ingredients ready before you start mixing. This is a quick batter, and once the flour is incorporated, it should go into the oven without a long wait.
Step 1: Heat the oven and prepare the pan
Place a rack in the middle of the oven and preheat to 350°F / 175°C. Grease your pan, line the base with parchment, and set it aside. Melt the butter and let it cool until it feels warm rather than hot.
Hot butter can affect the eggs and make the mixture harder to combine evenly. If you melt it first, it usually cools enough while you peel and dice the apples.
Step 2: Combine the dry ingredients
Whisk the flour, baking powder, and salt in a small bowl. This distributes the leavening throughout the flour so you do not end up with uneven pockets of rise.
If you are measuring flour by volume, spoon it into the measuring cup and level it off. Scooping directly from the bag can pack in extra flour, producing a heavier, drier cake.
Step 3: Whisk the eggs and sugar
In a larger bowl, whisk the eggs and 3/4 cup sugar for about 1 minute, until well combined and slightly lighter in color. The mixture should look a little foamy, but it does not need to become thick or triple in volume.
Whisk in the rum or alcohol-free substitute and the vanilla. Then slowly whisk in the lukewarm melted butter until the mixture looks smooth.
Step 4: Fold in the flour, then the apples
Add the dry ingredients to the wet ingredients. Use a spatula to fold gently, scraping the bottom and sides of the bowl. Stop when only a few faint flour streaks remain.
Add the diced apples and continue folding just until the fruit is coated and no dry flour remains. The mixture will look crowded with apples. That is expected: this is an apple-forward cake, not a plain cake with a handful of fruit scattered through it.
Do not keep stirring to make the batter perfectly smooth. Once the flour is hydrated and the apples are distributed, the work is done.
Step 5: Fill the pan and add the sugar top
Scrape the mixture into the prepared pan. Spread it evenly, nudging the apple pieces into a fairly level layer. Sprinkle the remaining 1 tablespoon sugar across the surface.
This small amount of sugar creates a delicate crispness as the cake bakes. It is a simple finishing touch that gives the soft interior something to contrast with.
Step 6: Bake until the center is set
Bake for 40–50 minutes, beginning your checks around 40 minutes. Ovens, pans, and apples vary, so use the time as a guide rather than the only test.
- The top should be golden, with deeper color near the edges.
- The center should feel set when touched lightly, not ripple like liquid.
- A skewer inserted into a cake-filled area near the center should come out without raw batter. A few moist crumbs are fine.
- If the skewer hits an apple piece, test another nearby spot before deciding the cake needs longer.
If the top is browning before the center is ready, loosely cover it with foil and continue baking. Check again in about 5 minutes. Resist pulling it early simply because the surface looks attractive.
Step 7: Cool before slicing
Let the cake rest in its pan on a rack for about 15 minutes. Run a thin knife around the edge. Release the springform ring, if using one, and continue cooling.
For a regular cake pan, wait until the cake feels sturdy enough to handle, roughly 20–30 minutes, before gently turning it out and immediately placing it right-side up on a rack or serving plate. The top is delicate, so handle it carefully.
Serve after at least 30 minutes of total cooling for a warm, soft slice, or allow it to cool completely for neater portions. That wait is part of the recipe: the crumb firms as it cools, making the cake easier to cut without crushing the fruit.
5. Avoid the Most Common Apple Cake Problems
The difference between a beautifully moist apple cake and a disappointingly wet one is often a small detail. Before changing the recipe, check the fruit quantity, pan size, and baking time.
Why is the middle wet or gummy?
A moist crumb is intentional; a paste-like band of raw batter is not. The most common causes are underbaking, using too much fruit, or switching to a smaller pan without allowing extra baking time.
Next time, weigh the prepared apples, preheat the oven fully, and test more than one spot near the center. Do not judge the texture while the cake is piping hot: warm fruit releases steam, and the structure has not yet settled.
If you cut into the cake and find clearly raw batter, do not serve it as though it were meant to be custard. Return it to the oven promptly to finish baking, covering the surface if needed, though the final texture may be less even.
Why is the cake dense or tough?
This cake is naturally denser than a sponge, but it should still feel tender. Excess flour and overmixing are common reasons for a tough crumb. Weigh the flour if possible, then fold rather than beat after adding it.
Also check your baking powder. If it is old or has been stored in damp conditions, it may not provide enough lift. Do not compensate by adding a large extra amount; that can affect both flavor and structure.
Why did the apples stay firm?
The pieces may have been too large, or the fruit may have been especially firm. Consistent 1/2-inch dice help the apples soften during the cake's baking time. If you prefer very tender fruit, use Golden Delicious for at least part of the total.
A useful habit is to taste a small piece before baking. It will not predict everything, but it tells you whether your apples are tart, mellow, crisp, or already mealy.
Why did the crisp top soften overnight?
Moisture migrates from the apples into the crust during storage. That is normal, especially in a covered container. The cake may taste more rounded the next day, but the topping will usually be less crisp.
This is the dessert's main trade-off: it keeps its tender interior well, while its most delicate surface texture is best on baking day. If that contrast matters to you, bake it the day you plan to serve it.
6. Easy Variations, Serving Ideas, and Storage
Once you have made the basic version, small adjustments can make it your own. The key is to change the accents without overwhelming the apples or upsetting the batter-to-fruit balance.
Flavor changes worth trying
- A touch of cinnamon: Add 1/2 teaspoon ground cinnamon to the dry ingredients for a warmer fall flavor.
- Lemon zest: Add 1 teaspoon finely grated zest to the egg mixture for a brighter finish.
- Apple and pear: Replace up to 150 g of the apples with firm, peeled pear. Avoid very ripe pears that release excessive juice.
- Almond accent: Add 1/4 teaspoon almond extract alongside the vanilla. A little goes a long way.
For a first attempt, choose one variation rather than several. It is easier to understand what works when the flavors remain clear.
Need a gluten-free option? A cup-for-cup baking blend containing a binder such as xanthan gum is a more practical starting point than replacing the flour with almond flour alone. Follow the blend manufacturer's substitution guidance and expect some texture differences. The recipe above is written for all-purpose wheat flour.
What to serve with French apple cake
A plain slice with coffee or tea is enough. For dessert, add a spoonful of lightly whipped cream, crème fraîche, or vanilla ice cream. The gentle tang of crème fraîche is particularly good with sweeter apples.
If using powdered sugar, dust it on just before serving. Added too early, it can dissolve into the moist surface. Keep any accompaniment modest; the appeal is the cake itself, not a topping that hides it.
How to store and reheat it
Cool the cake completely before covering it. In a cool kitchen, keep it covered at room temperature for up to 1 day. For longer storage, refrigerate it in an airtight container for up to 4 days. Refrigerate sooner if your kitchen is warm or humid, and store cream-based accompaniments separately.
Bring refrigerated slices toward room temperature before serving for a softer texture. To warm a slice, use a microwave in short bursts, checking after 10–15 seconds, or a 300°F / 150°C oven for about 8–12 minutes. Microwaving softens the top; oven warming can restore a little surface crispness.
For freezing, wrap fully cooled individual slices tightly and place them in a freezer-safe container for up to 2 months for best quality. Thaw in the refrigerator, then warm gently if desired. The apples may become slightly softer after thawing, but the slices still make a welcome ready-to-go dessert.
7. Make It Once, Then Make It Yours
There is a reason an unfussy apple cake earns a place in a home baker's rotation. It asks for ordinary ingredients, tolerates a rustic appearance, and offers something more satisfying than elaborate decoration: a good slice of cake with recognizable fruit in every bite.
The most useful lesson is not a fancy technique. It is balance. Measure the apples, keep the mixing gentle, bake until the center is truly set, and give the cake time to cool. Those four habits do more for the result than an extra spoonful of spice or an expensive pan.
For your first bake, follow the recipe closely and notice which apples you used. Next time, try a sweeter-and-tarter combination or a little lemon zest. Soon, the recipe becomes less of a set of instructions and more of a familiar answer to a familiar question: what should we bake today?
Start with the apples in your kitchen. Turn on the oven. By the time the butter-and-vanilla scent reaches the next room, you will have made something worth gathering around—one golden, apple-filled slice at a time.