
Pumpkin Cheesecake Cookies: How to Make Them at Home
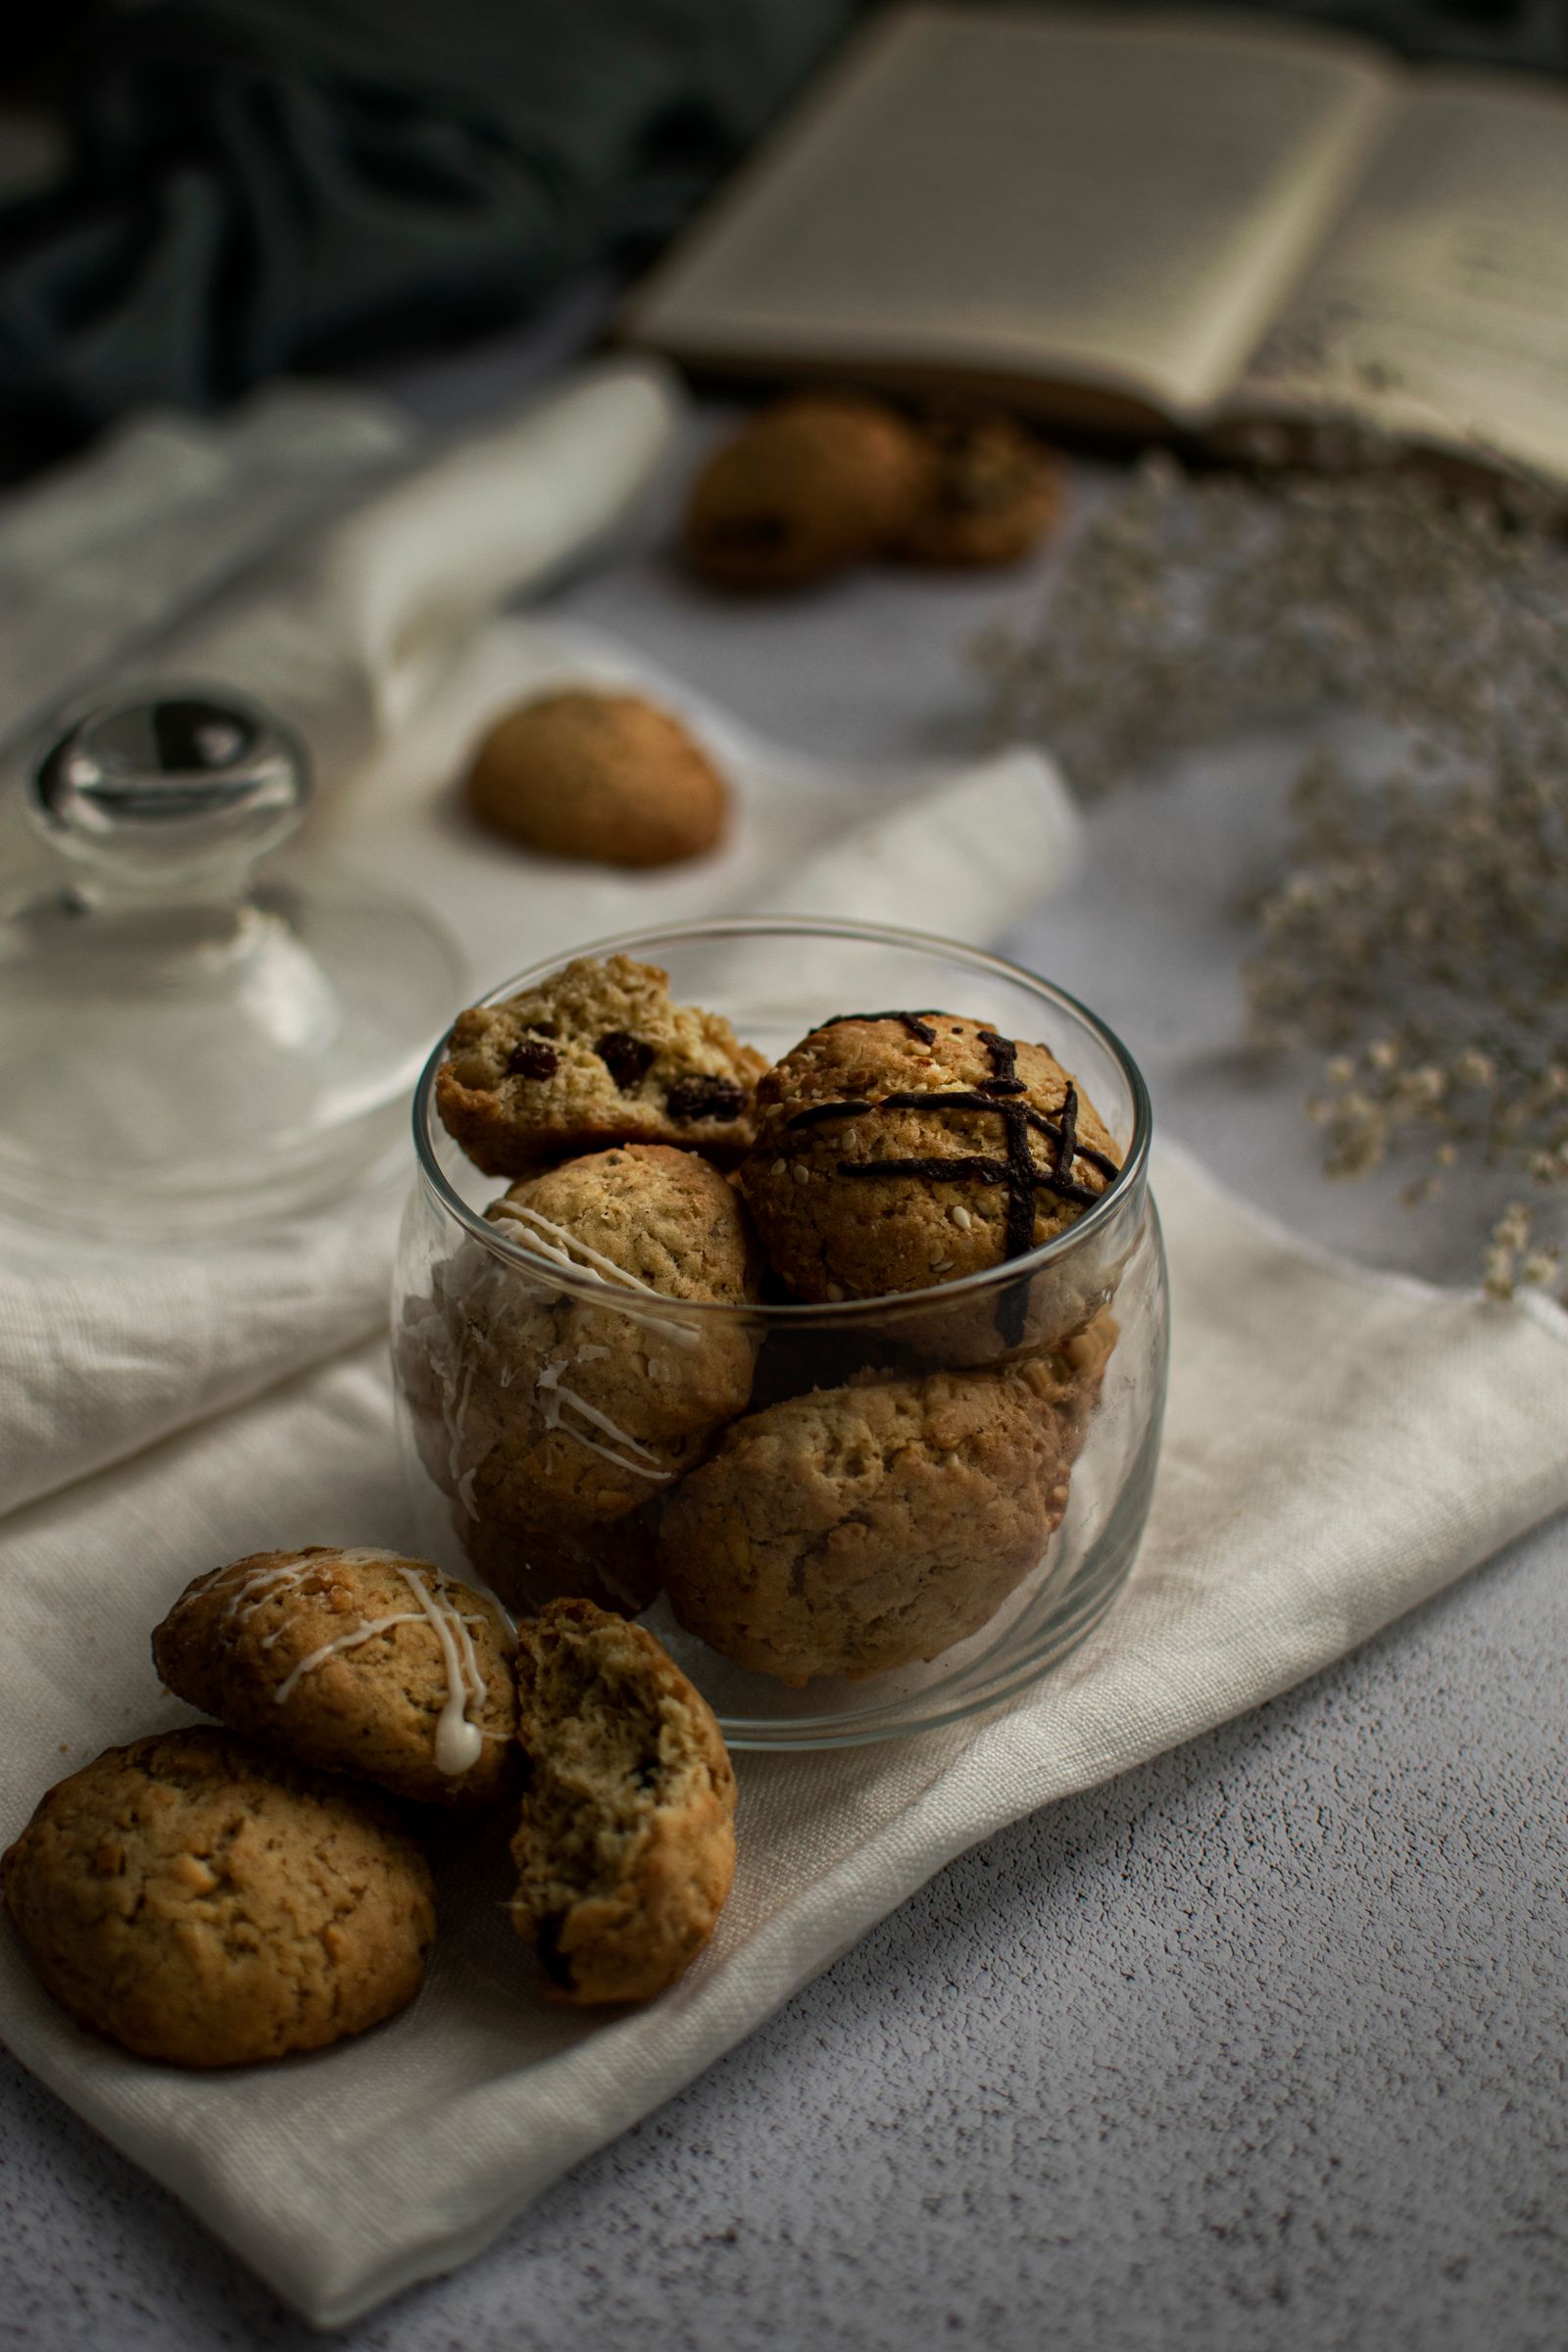
Pumpkin Cheesecake Cookies | How Tasty Channel
How Tasty shows how to make soft, chewy pumpkin spice cookies rolled in cinnamon sugar with a creamy vanilla cheesecake filling, step by step.
Break open a pumpkin cookie while it is still slightly warm, and you get something lovely: a soft, cinnamon-scented shell wrapped around a creamy cheesecake center. It is the kind of fall dessert that makes everyone in the kitchen suddenly interested in what is cooling on the counter.
Then comes the practical question: can you make those picture-perfect pumpkin cheesecake cookies at home without the filling leaking out or the dough turning into tiny cakes?
Yes—and the biggest difference comes from controlling moisture and temperature, not buying special equipment. Pumpkin brings flavor but also water. Cream cheese brings tang but needs a little structure. Give each ingredient the right treatment, and assembling these stuffed cookies becomes much less intimidating.
This pumpkin cheesecake cookies recipe walks you through the whole process, from thickening the pumpkin puree to sealing the filling inside. Expect warm spices, gently crisp edges, soft centers, and a cheesecake pocket that makes the extra chilling time worthwhile.
1. Why These Pumpkin Cheesecake Cookies Are Worth Making
Picture a cool afternoon, a clear stretch of kitchen counter, and a baking tray lined with parchment. You want something cozier than a plain chocolate chip cookie but less involved than a whole cheesecake. These cookies sit neatly between the two.
The appeal of this social-media-friendly fall treat is easy to understand. The outside looks like a cinnamon-sugar pumpkin cookie. Break it in half, and the pale filling gives you that satisfying contrast. More importantly, the flavors belong together: earthy pumpkin, warm spice, buttery dough, and tangy cream cheese.
What texture should you expect?
These are thick, soft pumpkin cookies with a creamy filling, not thin, crunchy cookies. The edges should feel set, the outer cookie should be tender, and the middle should hold a distinct cheesecake layer once cooled. Refrigeration makes the filling firmer and the cookie a little denser.
Because pumpkin contains substantial moisture, a completely dry, crisp result is not the goal. Instead, we reduce excess water so the dough stays pleasantly soft without becoming fluffy like pumpkin cake.
- The reward: a bakery-style stuffed cookie made with familiar supermarket ingredients.
- The trade-off: freezing the filling and chilling the dough make this a planned bake, not a last-minute 20-minute dessert.
- The useful shortcut: prepare the filling first, then let the freezer work while you mix the dough.
- The best first-batch strategy: bake one test cookie before committing the whole tray.
One important perspective: the most impressive cookie is not necessarily the one with the most filling. A modest center wrapped in an even layer of dough usually gives you a better bite—and fewer leaks—than an oversized pocket that stretches the dough too thin.
2. Ingredients and Equipment: Set Yourself Up for Success
Yield: 16 large stuffed cookies. Active preparation: about 35–45 minutes. Freezing and chilling: about 60–90 minutes, with some overlap. Baking: 15–18 minutes per tray. Allow roughly 2–2½ hours overall, including cooling and baking in batches.
Weights are the most reliable option, especially for flour and pumpkin. Cup measurements are approximate; if using cups for flour, fluff it, spoon it into the cup, and level the top rather than scooping directly from the bag.
For the cheesecake filling
- 6 ounces (170 g) full-fat block cream cheese, softened just enough to mix
- ¼ cup (30 g) powdered sugar
- ½ teaspoon vanilla extract
For the pumpkin cookie dough
- ½ cup (113 g) unsalted butter, softened but not greasy or melted
- ¾ cup packed (150 g) light brown sugar
- 2 tablespoons plus 1 teaspoon (30 g) granulated sugar
- 1 large egg yolk
- 1 teaspoon vanilla extract
- About ⅔ cup (150 g) plain pumpkin puree, blotted down to 100 g before mixing
- 2¼ cups (280 g) all-purpose flour
- ½ teaspoon baking soda
- ¼ teaspoon baking powder
- ½ teaspoon fine salt
- 2 teaspoons pumpkin pie spice
- ½ teaspoon ground cinnamon
For the cinnamon-sugar coating
- ¼ cup (50 g) granulated sugar
- 1 teaspoon ground cinnamon
You may have a little coating left over. Discard any that has come into contact with raw dough rather than returning it to your sugar container.
What to check when buying ingredients
Choose a can labeled 100% pumpkin or plain pumpkin puree. Pumpkin pie filling contains added sugar and seasoning, so it is not a direct substitute. Homemade puree can work, but its water content varies more; drain it thoroughly and use the same final prepared weight.
For the center, use full-fat cream cheese sold in a block when available. Whipped cream cheese and spreadable tubs can contain more water or have a different formulation, making the filling harder to portion and more likely to soften quickly.
No pumpkin pie spice? For the 2 teaspoons required, combine 1 teaspoon cinnamon, ½ teaspoon ground ginger, ¼ teaspoon ground nutmeg, and ¼ teaspoon ground allspice. Still include the additional ½ teaspoon cinnamon listed separately in the dough.
Equipment that actually helps
- Digital kitchen scale and measuring spoons
- Two mixing bowls and a hand mixer or sturdy spatula
- Light-colored baking sheets and parchment paper
- A small tray or plate that fits in your freezer
- Cookie scoop or tablespoon for portioning
- Paper towels and a cooling rack
A mixer makes the butter and filling easier to combine, but it is not essential. Softened ingredients, a sturdy spoon, and a little patience will do the job.
3. Prepare the Filling and Pumpkin Before Mixing
This is the stage that makes everything afterward easier. Skip it, and you may find yourself wrestling sticky dough around soft cream cheese. Spend a few minutes here, and assembly feels much more controlled.
Step 1: Make and freeze the cheesecake centers
Mix the cream cheese, powdered sugar, and vanilla until smooth. Scrape the bowl once or twice so no lumps remain, but avoid beating for several minutes; you need a smooth mixture, not a fluffy one.
Line your small freezer tray with parchment. Divide the mixture into 16 small mounds, about 12–13 g each, or roughly 2 level teaspoons. Flatten them slightly into thick discs rather than leaving tall peaks.
Freeze for 45–60 minutes, or until firm enough to lift from the parchment and handle briefly. Depending on your freezer, they may need longer. They do not have to become rock-hard, but they should not smear when touched.
If your kitchen is warm, remove only four filling portions at a time during assembly. The rest can stay frozen while you work.
Step 2: Remove excess water from the pumpkin
Spread 150 g pumpkin puree on a few layers of paper towels set on a plate. Lay another towel on top and press gently. Replace saturated towels as needed, then scrape the thickened pumpkin into a bowl and weigh it.
Your target is 100 g of prepared pumpkin puree. The puree should look thicker and hold a small mound rather than spreading into a watery puddle. Use a flexible spatula to lift it from the towels; dampening the towels with pumpkin moisture usually helps it release.
If your starting puree is unusually thick, you may reach the desired texture before removing much liquid. The key is to measure 100 g of thick, prepared puree for the dough rather than automatically adding the entire starting amount. If you end up short, blot a little more pumpkin.
Why not just add extra flour to absorb the water? Because flour changes the whole cookie. Too much can make the exterior bland and bready. Removing water from the pumpkin concentrates the flavor while keeping the dough proportions more consistent.
A small timing trick
Start freezing the filling before blotting the pumpkin or measuring the dry ingredients. These tasks overlap naturally, turning what looks like a long recipe into a manageable sequence rather than a series of separate waiting periods.
4. Mix, Fill, and Bake the Cookies
Step 3: Combine the dry ingredients
In a bowl, whisk the flour, baking soda, baking powder, salt, pumpkin pie spice, and cinnamon. Break up any visible spice clumps so each cookie gets an even flavor.
Step 4: Build the pumpkin dough
In a separate bowl, beat the softened butter, brown sugar, and granulated sugar on medium speed for about 1–2 minutes, until creamy and evenly blended. Do not aim for a very pale, heavily whipped mixture; excessive aeration can encourage a cakier texture.
Mix in the egg yolk and vanilla, followed by the 100 g prepared pumpkin. Scrape the sides and bottom of the bowl. The mixture may look slightly uneven after the pumpkin goes in; that is usually fine.
Add the dry ingredients and mix on low speed, or fold with a spatula, just until no dry flour remains. The dough should be soft and slightly tacky but not pourable. Cover and refrigerate for 45–60 minutes, until it is easy to shape.
Do not immediately add more flour if the fresh dough feels soft. Chilling firms the butter and gives the flour time to hydrate. Reassess the texture after that rest.
Step 5: Enclose the frozen filling
Divide the chilled dough into 16 equal portions, about 50 g each. A scale makes this straightforward, but you can also portion by eye and adjust before adding the filling.
Flatten one portion into a thick disc in your palm. Place a frozen cheesecake mound in the middle, bring the edges up around it, and pinch the dough closed. Gently roll between your hands to smooth the seam.
Check both the top and bottom. No cream cheese should be visible, and the dough underneath should not be paper-thin. If you spot a crack, patch it with a little dough from a thicker area before rolling again.
Mix the coating sugar and cinnamon in a small bowl, then roll each stuffed dough ball lightly in the mixture. Set the balls on a parchment-lined tray and refrigerate for another 15–20 minutes while the oven heats.
Step 6: Bake with enough room to spread
Heat a conventional oven to 350°F (175°C). For a fan oven, start around 320°F (160°C) and watch the first batch closely, since ovens vary. Position a rack in the center.
Arrange six to eight chilled dough balls on a parchment-lined, room-temperature baking sheet, leaving about 3 inches between their centers. Keep the remaining dough balls refrigerated. Do not flatten the stuffed cookies before baking.
Bake for 15–18 minutes, checking from 14 minutes onward. The edges should look set, the tops should lose their raw, wet shine, and the centers should still feel soft. Pumpkin keeps the color fairly golden-orange, so deep browning is not the best doneness signal.
If the dough still looks glossy and raw around a crack, give the cookies another minute or two. Soft is the goal; visibly unbaked dough is not. Baking time can vary with cookie size, dough temperature, and your oven.
Step 7: Let the structure set
Leave the cookies on the baking sheet for 10–15 minutes before transferring them carefully to a rack. They are fragile straight from the oven, especially around the filling.
Wait at least another 15–20 minutes before breaking one open. For the cleanest cross-section, cool completely or refrigerate briefly. That dramatic creamy center looks much better when it has had time to settle.
Between batches, let the baking sheet cool. Putting cold dough on a hot tray starts melting the bottoms before the cookies enter the oven, which can change their spread.
5. Troubleshooting: Fix the Most Common Cookie Problems
A first batch is useful feedback, not a verdict on your baking skills. If you are unsure about your dough or oven, bake one cookie by itself and let it cool enough to inspect before loading a full tray.
“My cookies spread too much.”
The usual suspects are warm dough, butter that was too soft, excess pumpkin moisture, or an underheated oven. Refrigerate the remaining shaped cookies for another 20–30 minutes and use a cool baking sheet.
Check that the pumpkin was weighed after blotting and that the flour was measured accurately. An inexpensive oven thermometer can also reveal whether your oven is running cooler than its setting.
“The cookies stayed in tall mounds.”
Too much flour or very cold, stiff dough can limit spread. If your test cookie barely spreads, let the remaining portions sit at room temperature for about 5 minutes before baking. You can also shape them into slightly squat balls, keeping the filling fully enclosed.
For the next batch, weigh the flour rather than packing it into a measuring cup. Avoid pressing baked cookies flat; that can rupture the center.
“The cheesecake filling leaked out.”
Look for a thin base, an unsealed seam, or filling that softened before assembly. A small leak is usually cosmetic, and the cookie can still taste wonderful, but prevention is easier than repair.
- Keep the filling portions small and consistent.
- Freeze the centers until they can be handled cleanly.
- Seal every visible crack before coating.
- Chill assembled cookies before baking.
- Keep a reasonably even dough layer around the filling.
“They taste more like cake than cookies.”
Excess moisture is often the main reason. Skipping the pumpkin-blotting step, using a whole egg instead of a yolk, or adding extra puree can all push the texture toward cake. Overbeating the butter mixture may contribute too.
Follow the prepared pumpkin weight, use only the listed yolk, and mix just until combined after adding flour. Remember that these are still soft pumpkin cookies; they are not designed to have the dense chew of a classic chocolate chip cookie.
“The center seems too soft.”
Warm cream cheese filling is naturally softer than chilled filling. Let the cookies cool completely before deciding something went wrong. If they remain unusually loose after refrigeration, check whether you used whipped or spreadable cream cheese instead of a firm block.
The filling contains no egg, so it does not set like a baked cheesecake custard. Its structure comes mainly from the cream cheese, the small amount of sugar, and cooling.
6. Make-Ahead Tips, Storage, and Easy Variations
How to keep pumpkin cheesecake cookies fresh
Because of the cream cheese filling, refrigerate the finished cookies. Once cooled, place them in an airtight container with parchment between layers. Refrigerate within 2 hours of baking, or within 1 hour if the room temperature is above 90°F (32°C).
Enjoy within 3–4 days. For a softer bite, take out only the cookies you plan to serve and let them stand at room temperature for about 15–20 minutes. Avoid leaving the entire container on the counter throughout the day.
The cinnamon-sugar coating will soften during storage as moisture moves through the cookie. That is normal. These are at their best on the day they are baked or the following day, though they remain enjoyable refrigerated.
Can you freeze them?
Yes. Freeze cooled cookies in a single layer until firm, then transfer them to a freezer-safe container. Separate layers with parchment and use within about 2 months for best quality. Thaw covered in the refrigerator overnight.
You can also freeze assembled, unbaked dough balls without the cinnamon-sugar coating. Freeze on a tray, transfer to a sealed freezer bag, and use within about 1 month for best quality. Thaw overnight in the refrigerator, roll in cinnamon sugar, and bake while still chilled.
If preparing the components ahead, refrigerate the dough for up to 24 hours and keep the filling portions frozen. Dough chilled overnight may need a few minutes on the counter before it is pliable enough to wrap around the filling.
Variations that keep the recipe manageable
- Chocolate-chip pumpkin cheesecake cookies: fold ½ cup mini chocolate chips into the dough. Small chips make sealing easier than large chunks.
- Orange-spiced filling: add ½ teaspoon finely grated orange zest to the cream cheese mixture for a bright contrast.
- A gentler spice profile: reduce the pumpkin pie spice to 1 teaspoon and keep the additional cinnamon.
- A simple finish: skip the cinnamon-sugar coating if you prefer a less sweet exterior.
Liquid additions deserve more caution. Pouring maple syrup into the filling or adding extra vanilla to the dough changes the moisture balance. If you want a maple note, a small amount of maple extract, used according to its strength, is easier to control than several spoonfuls of syrup.
Gluten-free and dairy-free versions require more than a casual swap because the cookie must hold a soft filling. A cup-for-cup gluten-free baking blend may work, but texture and spread can vary. Plant-based cream cheeses also differ significantly in firmness, so treat those adaptations as separate test batches rather than guaranteed equivalents.
7. Serve a Cookie That Makes People Pause
There is no need to build an elaborate dessert board around these. A small plate, a mug of coffee or tea, and a cookie allowed to lose its refrigerator chill are enough. For a fall gathering, bring out a few at a time and replenish from the fridge.
Can you make smaller cookies?
Yes, but reduce both the dough and filling portions proportionally. Smaller cookies need a shorter baking time, and tiny cheesecake portions can be fiddly to wrap. Start checking around 10–12 minutes and use the same visual cues: set edges and no raw-looking surface.
Can you leave out the filling?
You can bake the dough as plain pumpkin spice cookies. Portion them smaller if desired and begin checking earlier, since an unfilled cookie will bake differently. You will lose the cheesecake contrast, but keep the pumpkin, cinnamon, and brown-sugar flavor.
What should you do with the leftover pumpkin?
Transfer unused canned puree to a covered container and refrigerate according to the package guidance, generally using it within 3–4 days. Stir it into oatmeal, add it to pancake batter using a suitable recipe, or freeze measured portions for another bake. Label frozen portions with their weight so you know whether they still need blotting.
The most useful lesson from this pumpkin cheesecake cookies recipe is simple: manage the moisture, keep the filling cold, and give the cookies time to set. Those three habits matter more than perfectly round shapes or a flawless photograph.
So clear a little freezer space, line a tray, and start with the cheesecake centers. By the time the cinnamon scent fills your kitchen, the waiting will make sense. And when you finally break open that first cookie, you will have something better than a saved recipe on your phone: a fall treat you know how to make again.