
Pumpkin Cream Cold Foam Recipe: How to Make It at Home
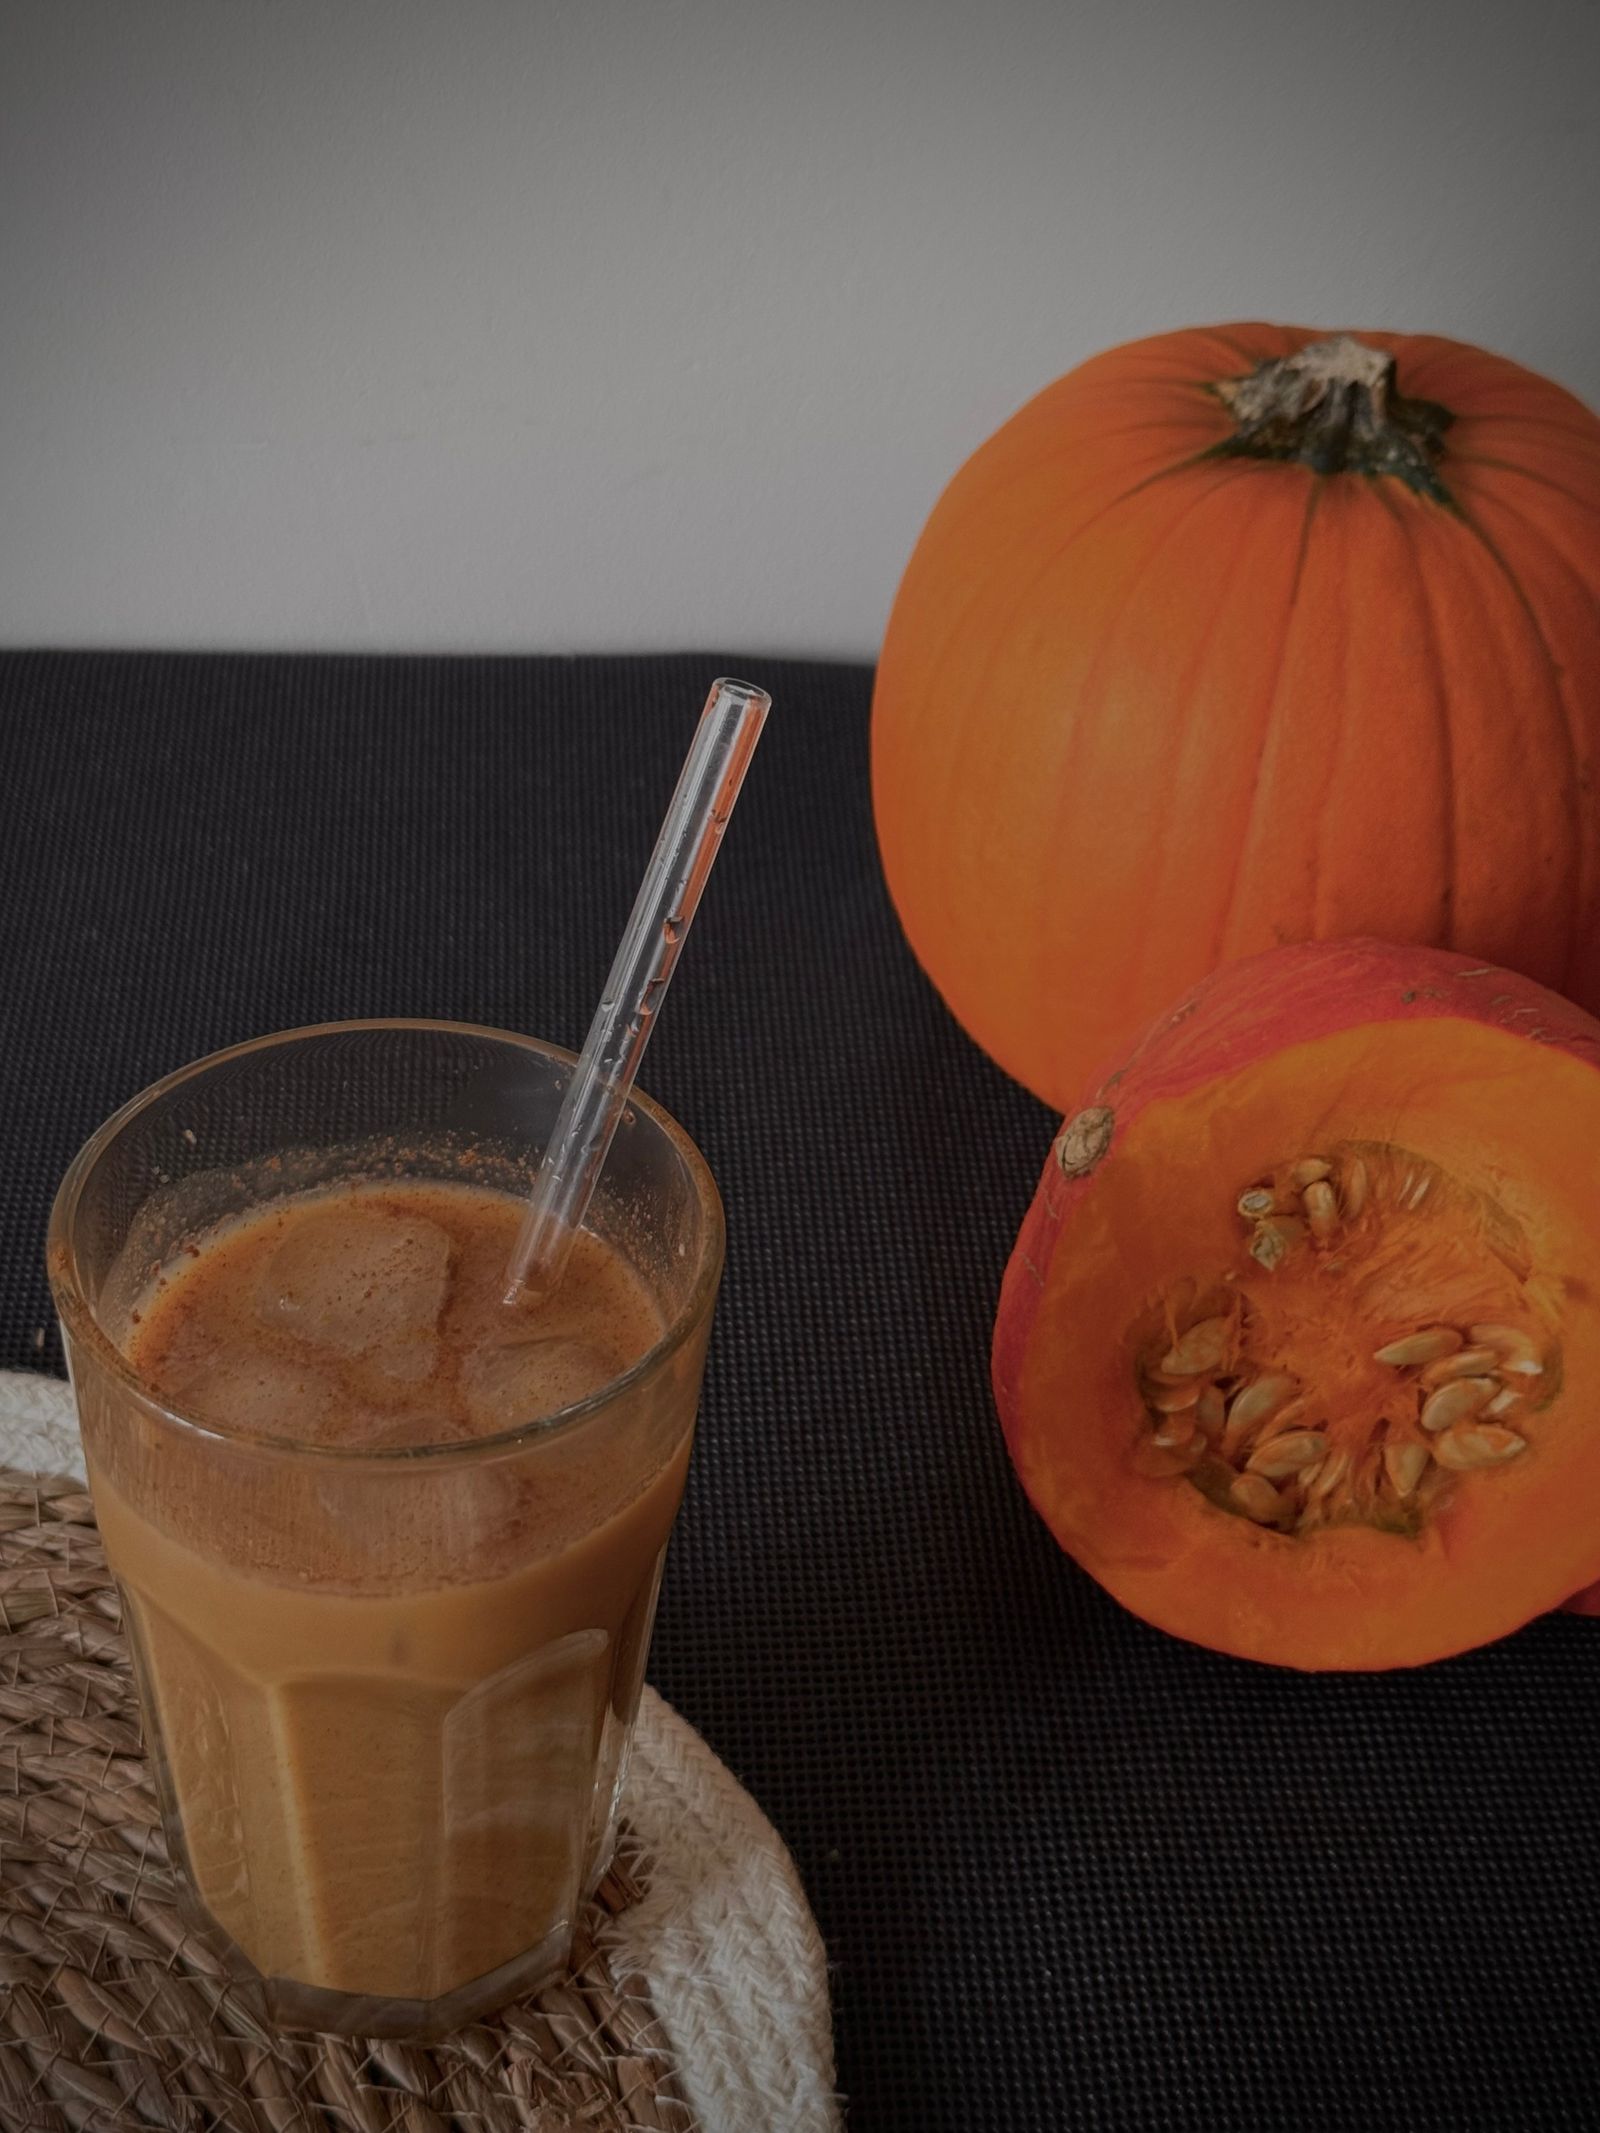
Pumpkin Cream Cold Foam | EASY recipe!
A step-by-step home version of the Starbucks pumpkin cream cold brew, showing how to whip a pumpkin cold foam with simple ingredients for a fraction of the price.
That first sip is the reason you ordered it: cold coffee underneath, a cloud of pumpkin-spiced cream on top, and just enough sweetness to make an ordinary morning feel special. Then comes the familiar question: could you make that same cozy coffee-shop moment in your own kitchen?
Yes—and you do not need a commercial espresso machine, a flavored syrup collection, or a whole afternoon. This pumpkin cream cold foam recipe uses real pumpkin, everyday dairy, maple syrup, and a small amount of spice. A handheld milk frother does the heavy lifting, although there are other ways to get a tasty topping.
Imagine a quiet Saturday: ice rattling into a glass, coffee pouring over it, and a pale orange ribbon of cream settling on top. The best part is not simply skipping the line. It is making the foam exactly as sweet, pumpkin-forward, and creamy as you like.
Below, you will find a complete recipe, the texture cues that matter more than a stopwatch, dairy-free options, and fixes for the most common mistakes. Start with the basic version once. After that, consider it your personal fall coffee formula—whatever the calendar says.
1. What Makes Pumpkin Cream Cold Foam So Good?
Pumpkin cream cold foam is a lightly aerated, sweetened cream mixture flavored with pumpkin puree, vanilla, and warming spices. Unlike a firm dollop of whipped cream, it should pour slowly and spread across the surface of an iced drink. You want a soft, creamy cap, not a frosting peak.
Classic milk-based cold foam and pumpkin cream foam are related, but they are not identical. Milk foam can feel lighter and more airy. Adding heavy cream makes this version richer, while pumpkin contributes flavor, color, and some body. The goal is a balance: enough thickness to linger on the coffee, but enough fluidity to sip comfortably.
The three parts of a satisfying sip
- A bold coffee base: Cold brew or chilled strong coffee keeps the drink from tasting like diluted dessert.
- A smooth, pourable topping: Small bubbles give the cream lift without turning it stiff.
- Restrained sweetness and spice: Pumpkin should support the coffee rather than hide it.
Here is a useful perspective: the topping should taste slightly more intense on its own than you want the finished drink to taste. Ice and unsweetened coffee soften its sweetness and spice. However, that does not mean adding spoonfuls of cinnamon; too much dry spice makes the texture dusty.
This is a homemade coffee-shop-style recipe, not a claim to reproduce any brand's exact formula. Its advantage is flexibility. Prefer less sugar? Use less syrup. Want a smaller topping? Split the batch between two glasses. Your best version is the one you want to make again tomorrow.
2. The Recipe: Simple Ingredients, Better Balance
Prep time: About 5 minutes, with coffee already chilled. Yield: Enough topping for one generously topped drink or two smaller servings. Equipment: Measuring spoons, a spoon or small whisk, a tall narrow cup, and preferably a handheld milk frother.
Ingredients for the pumpkin cream cold foam
- 3 tablespoons cold heavy whipping cream: Typically around 36% milk fat; check the carton.
- 2 tablespoons cold whole milk: Helps keep the topping pourable.
- 2 teaspoons smooth, plain pumpkin puree: Not sweetened pumpkin pie filling.
- 2 teaspoons maple syrup: Adjust after tasting; simple syrup also works.
- 1/4 teaspoon vanilla extract: Adds a rounded, dessert-like aroma.
- 1/8 teaspoon pumpkin pie spice: Start here rather than adding a heavy shake.
- A tiny pinch of fine salt, optional: Balances sweetness without making the foam taste salty.
Ingredients for the coffee underneath
- 6–8 ounces ready-to-drink cold brew or chilled strong coffee
- Ice, enough to fill your serving glass about halfway
- Optional: 1 teaspoon maple or vanilla syrup for a sweeter coffee base
- Optional: A very light dusting of cinnamon or pumpkin pie spice for serving
If using cold brew concentrate, dilute it according to its label before measuring the coffee. Concentrates vary considerably; treating one like ready-to-drink coffee can produce a much stronger drink than intended.
What to check before buying ingredients
Look for a pumpkin can whose ingredient list says pumpkin, without added sugar or spices. Pumpkin pie filling changes both sweetness and seasoning, making the recipe harder to control. Canned puree is convenient because its texture is usually consistent. Homemade puree works too, but it should be thoroughly cooked, cooled, smooth, and not watery.
Heavy cream provides the most reliable rich texture in this recipe. Half-and-half is convenient, but substituting it for both the cream and milk produces a lighter topping that may not hold as well. That is a reasonable trade-off if you prefer a less rich drink—just expect a different result.
No pumpkin pie spice? For a small batch of homemade seasoning, mix 1/2 teaspoon cinnamon, 1/4 teaspoon ground ginger, 1/8 teaspoon ground nutmeg, and a small pinch of ground cloves. Measure 1/8 teaspoon of that blend for the foam, and save the rest in a closed spice container. Do not add the entire blend to one serving.
3. How to Make Pumpkin Cream Cold Foam, Step by Step
Step 1: Prepare the drink before the topping
Fill a glass about halfway with ice and add the chilled coffee, leaving room for the foam. Stir any optional sweetener into the coffee now. Getting the glass ready first means the freshly aerated cream can go straight onto the drink instead of sitting while you search for ice.
If you are starting with hot brewed coffee, cool and refrigerate it first. Pouring hot coffee over a small amount of ice can melt the ice quickly, leaving you with a watery base that cannot stand up to the creamy topping.
Step 2: Make a smooth pumpkin mixture
In a tall, narrow cup, stir together the pumpkin puree, maple syrup, vanilla, pumpkin pie spice, and optional salt. Work out any visible lumps with the back of a spoon. Then gradually stir in the cold milk until the mixture looks evenly orange.
This little mixing step is worth doing. Adding everything at once and immediately frothing can leave pumpkin stuck to the bottom while the cream thickens above it. Smoothing the puree first gives you more consistent flavor and fewer gritty or lumpy surprises.
Step 3: Add the cream and froth briefly
Pour in the cold heavy cream. Submerge the frother head before switching it on to avoid splashes. Begin with the head fully submerged to combine the mixture, then move it closer to the surface while keeping the whisk covered so it can introduce air.
Froth for about 15–30 seconds, then pause and inspect. Depending on your frother and ingredient temperature, it may need another short burst. The mixture should become slightly lighter in color and thicker, with fine bubbles rather than a surface full of large, soapy-looking bubbles.
The texture test: Lift a spoonful and let it fall back into the cup. It should flow in a thick ribbon that briefly rests on the surface before settling. If it stands in a firm mound, it has gone beyond cold foam into whipped-cream territory.
Step 4: Taste, adjust, and pour
Taste a small spoonful. For a sweeter topping, gently stir in another 1/2 teaspoon of maple syrup. For a thinner texture, add 1 teaspoon of cold milk at a time. Avoid repeatedly frothing after every adjustment; the extra whipping can make it too thick.
Pour the foam slowly over the iced coffee, aiming toward the middle of the glass. Finish with the lightest dusting of spice if you like. Drink it soon after making it, when the topping is airy and the contrast between coffee and cream is most noticeable.
Try the first sip without a straw or stirring. That lets the coffee pass through the foam. If you prefer a fully blended drink, stir it afterward—there is no prize for keeping the layers perfect.
4. Better Texture: Tools, Tricks, and Quick Fixes
The first homemade batch often teaches the same lesson: more frothing does not always mean better foam. Once the cream is thick enough, extra mixing can turn a pourable topping into something you need to spoon onto the drink.
Which tool should you use?
- Handheld milk frother: The most practical option for this small batch. It is quick, easy to control, and works best in a narrow cup with enough room for expansion.
- Electric milk frother with a cold setting: Convenient if the manufacturer allows cream and flavored mixtures. Check minimum fill lines and cleaning instructions; some machines are designed for milk only.
- Small whisk: Possible, but slower and more tiring. Use a small bowl and expect a softer, less consistently aerated topping.
- Sealed jar: Shake cold ingredients vigorously in a jar with plenty of empty space. The result is usually bubbly cream rather than fine, stable foam, but it still tastes good.
A countertop blender is often awkward for this quantity because the mixture may sit below the blades. Scaling up can solve that problem, but it also makes it easier to overprocess the cream. For one morning coffee, simpler equipment usually wins.
If your foam is too thin
First, check temperature: both dairy ingredients should be refrigerator-cold. If the mixture warmed up during preparation, chill it before trying another short frothing burst. Also make sure you used heavy cream rather than a lower-fat coffee creamer.
If it is still thin, gently mix in 1 teaspoon of cold heavy cream and briefly froth again. Watery homemade pumpkin puree can also loosen the mixture. Next time, drain excess liquid from the puree before measuring it.
If your foam is too thick or grainy
For smooth but overly thick foam, stir in cold milk 1 teaspoon at a time until it pours. If the mixture has become grainy from overwhipping, a small splash of cream and gentle stirring may help in the early stages. Once it separates into buttery clumps and liquid, restarting is the better route for a smooth coffee topping.
Graininess can also come from spices or fibrous puree. Use a smooth puree, measure spices carefully, and remember that ground cinnamon does not dissolve in milk. More mixing cannot make a large dose disappear.
If it sinks straight into the coffee
Some mixing at the boundary is normal and part of the appeal. Immediate disappearance usually means the topping is too thin, the coffee is not cold enough, or the pour was too forceful. Use cold coffee, inspect the foam's texture, and pour slowly over the ice.
Think of the layered look as a pleasant bonus, not the only measure of success. A delicious homemade pumpkin cold brew can have soft swirls rather than a perfectly straight dividing line.
5. Make It Yours: Dairy-Free, Less Sweet, or Extra Cozy
A dairy-free version with realistic expectations
For a dairy-free trial, replace the heavy cream with 3 tablespoons of a chilled plant-based whipping cream and use 2 tablespoons of oat or soy milk. Keep the remaining ingredients the same, checking labels if you need the drink to be fully vegan.
Choose a product specifically labeled for whipping, preferably unsweetened. Plant-based creams differ in fats, stabilizers, and added sugars, so they will not all behave like dairy cream. If yours is already sweetened, start with only 1 teaspoon of maple syrup and taste before adding more.
Barista-style oat milk alone can create a lighter foam, but it will not necessarily produce the rich cap of this cream-based recipe. Coconut cream can add body, though it also adds coconut flavor and may feel waxy when very cold. Choose based on the flavor and texture you enjoy, not a promise that every substitute is identical.
For a less sweet coffee
Reduce the maple syrup in the foam to 1 teaspoon and leave the coffee unsweetened. The topping will still taste aromatic because vanilla and spice bring plenty of flavor. Keep in mind that less added sugar does not make a cream-based topping low in calories; richness and sweetness are separate choices.
Another practical approach is to split the standard batch between two drinks. You keep the original flavor balance but use a thinner layer on each glass. This often works better than removing so many ingredients that the topping stops feeling satisfying.
For a stronger pumpkin flavor
Increase the puree from 2 teaspoons to 1 tablespoon. That modest adjustment adds pumpkin flavor without dramatically changing the formula. More than that can make the foam dense or slightly pulpy, depending on the puree.
If what you really want is more of a pumpkin-pie impression, add a tiny extra pinch of spice instead. Pumpkin and pumpkin spice are not interchangeable: one brings earthy squash flavor and body, while the other supplies the familiar warm aroma.
Three easy drink combinations
- Maple pumpkin cold brew: Use the standard foam over unsweetened cold brew. Add maple syrup to the coffee only after tasting.
- Pumpkin iced latte: Pour cooled espresso over ice and your preferred milk, leaving space for a smaller layer of foam.
- Pumpkin chai: Top chilled chai with the foam and reduce its syrup if your chai is already sweetened. The chai's existing spices may also make an extra dusting unnecessary.
Decaf coffee works just as well if you want the ritual without regular coffee's caffeine level. Pumpkin foam brings no coffee of its own, although chai and decaf coffee can still contain caffeine.
6. Prep Ahead Without Losing the Fresh-Foam Finish
The easiest weekday shortcut is to prepare the flavor base ahead and aerate only what you need. You save measuring time without expecting yesterday's bubbles to behave like fresh ones.
How to store the mixture
Mix the recipe without frothing, transfer it to a clean covered container, and refrigerate promptly at 40°F / 4°C or below. For best quality, use it within 2 days, or sooner if any ingredient's storage guidance calls for it. Stir gently before measuring and froth only the portion you plan to serve.
This is a conservative home-prep recommendation, not a tested shelf-life guarantee. Ingredient freshness, clean utensils, and refrigerator temperature all matter. Do not leave the dairy mixture at room temperature for more than 2 hours, or 1 hour when temperatures exceed 90°F / 32°C.
Already-frothed leftovers will lose air and may separate. They can still be refrigerated promptly within safe time limits, but do not expect the same texture later. Preparing a fresh small batch generally gives the best result.
Use the leftover pumpkin wisely
A can of pumpkin contains much more than this recipe needs. Follow its label for refrigerated storage after opening, and transfer unused puree to a covered container. For longer storage, freeze measured portions in a freezer-safe tray, then move them into a labeled freezer container.
Two-teaspoon portions make future foam batches easy. Thaw them in the refrigerator before use and stir well; freezing can cause some water separation. You can also stir leftover puree into oatmeal, pancake batter, or soup rather than building an entire week around pumpkin coffee.
Common questions before the next batch
Can I use pumpkin syrup instead of puree? Yes, but it becomes a different recipe. Syrups vary in sweetness and may contain little or no pumpkin. Start by replacing the maple syrup with a small amount of pumpkin-flavored syrup, omit or reduce the spice as needed, and adjust to taste.
Can I put this foam on hot coffee? You can, and it tastes good, but the foam melts and blends into hot coffee more quickly. Use iced coffee if you want a longer-lasting cream layer.
Can I double the recipe? Yes. Double the ingredients and use a larger container with room for expansion. Frothing time will depend on the tool and container, so stop based on the thick-ribbon texture rather than automatically doubling the seconds.
Do I need an expensive frother? No. An inexpensive handheld frother can handle this small batch. A comfortable switch, easy cleaning, and a cup that keeps the whisk submerged matter more than extra settings.
7. Your New Coffee Ritual Starts With One Small Batch
A good pumpkin cream cold foam recipe is not about recreating a complicated café routine. It is about understanding a few simple details: use cold ingredients, smooth out the pumpkin first, measure the spice, and stop frothing while the topping still pours.
Make the original recipe once before changing several things at the same time. Then adjust a single detail on your next cup—slightly less maple, a little more pumpkin, or a smaller layer over stronger coffee. That way, you learn what actually makes the drink better for you.
The next time you hear ice clinking into a glass, you will already know what comes next. A quick stir, a short froth, a slow pour—and an everyday coffee that feels a little more worth sitting down for.